The more you develop your Bubble app, the more iteration and experimentation you’ll do — new features, UI changes, page-layout redesigns, sample data, and so on. All that complexity may come with some missteps or realizations that change your app’s trajectory along the way, and that’s perfectly fine. In fact, bugs and pivots are a natural part of programming, and if you work on Bubble, you are a programmer.
That’s why every Bubble app comes with a retention window: a band of time in which your app’s past iterations are still available for you to go back to. By default, all apps on the Free plan start with a retention window of six hours. But you can expand to a retention window of two days (48 hours) by upgrading to the Starter plan — just one reason of many why you might want to upgrade even before you’re ready to publish your app live. And on the Growth plan, the retention window stretches to two full weeks.
In addition to custom or automated savepoints (another feature you unlock with a paid plan), Bubble includes a few features to help you rewind the clock within your retention window. For one, you can revert a design or workflow to a particular time in the past, down to the hour, minute, or even second. Or, if necessary, you can even rewrite your app’s entire database with an automatic backup that you saved within your retention window.
Version restoration vs. database restoration
Reverting your app to a custom date or time (version restoration) is a feature that’s tied to your main development branch. On a Free plan, you can revert your branch back in time within the six-hour retention window. On paid plans, you get access to this feature plus all of Bubble’s version control system, which allows you to safely capture, restore, and overwrite all sorts of changes made throughout your app. Because of its flexibility and precision, many Bubblers change and manipulate their app on a weekly, if not daily, basis.
Database restoration, on the other hand, is not meant to be used as part of normal development — it’s more of a failsafe. Here’s how it works.
When you build and test your app, you’re using your app’s development database. When you publish your app live and your users start using your app, they’re using your app’s live database. Bubble automatically creates backups of both databases and saves them for as long as your retention window allows.
Restoring a backup of either database (especially the live one) initiates a heavy — and potentially disruptive — process with wide-reaching consequences on the infrastructure of your app. For example, if your database structure features multiple data types connected to each other, a change to even one field of one data type could break logic throughout your app.
But in certain circumstances, database restoration can be a lifeline, especially if something is really broken with your app’s database. For example, let’s say a looping backend workflow (aka a recursive workflow) has accidentally looped for too long, deleting over a hundred items from your live database. In that case, you could either restore your live database to an earlier version within your retention window or copy and restore it from your development database.
Put another way, version restoration is a surgical tool for precise changes, while database restoration is more of a sweeping transformation that affects the entire development or live instance of your app at once.
Walk-through: Revert your app to a certain date or time with version restoration
In this interactive walk-through, you’ll learn how to restore a version of your app to a custom date or time within your retention window.
And if you’d like to read through the individual steps, we’ve got you covered there, too.
Reverting to a custom date or time:
- First, open the version control panel by clicking on the branch name in the top menu of the editor.
- Click on the History tab.
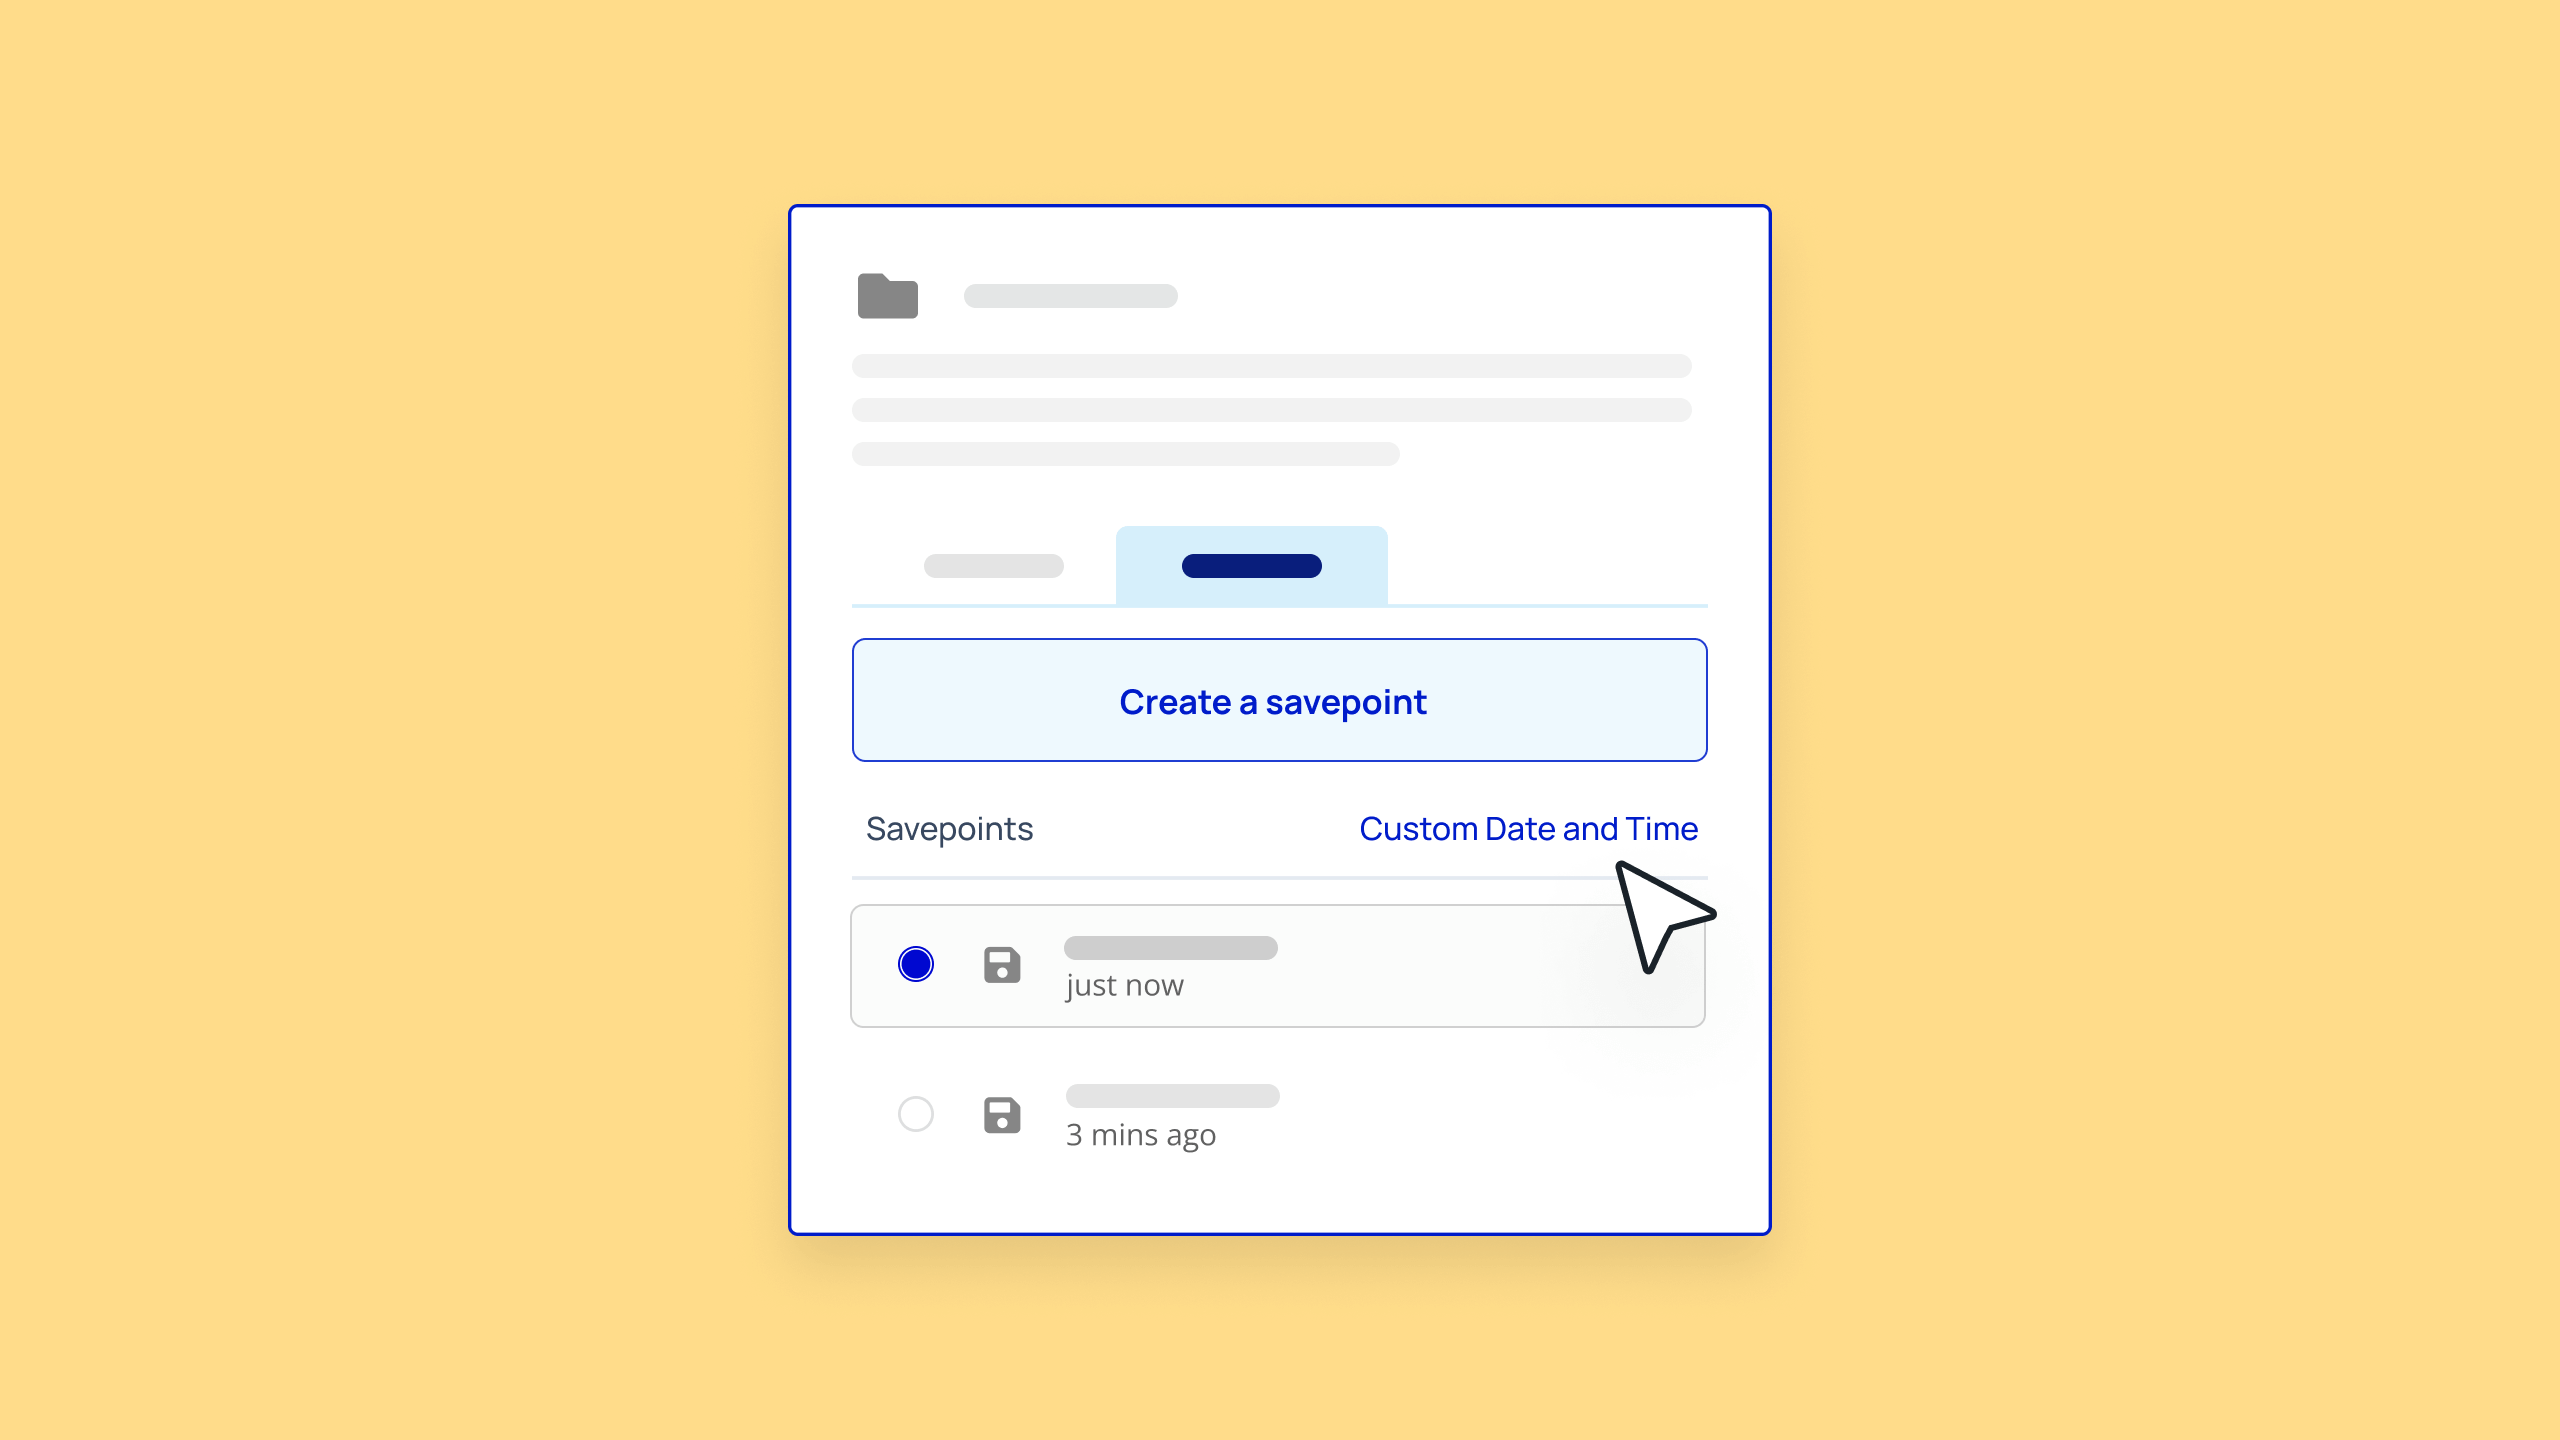
- Select Custom date and time above the list of savepoints.
- Input the exact date and time (down to the precise second) that you want to revert your branch to and click Restore to this custom date and time. (Remember: You can only restore as far back as your app’s retention window will allow.)
- Confirm the restoration.
Walk-through: Revert or copy your app’s database with database restoration
This interactive walk-through covers how to copy and restore your app’s database. It covers:
- How to copy your development database to your live database (and vice-versa).
- How to restore a data type or all types in your database back to a previous version.
Here are the individual steps to follow along with this walk-through:
Opening the Copy and restore database window:
- First, go to App data under the Data tab.
- Near the upper-right corner, click the red link labeled Copy and restore database.
Copying data from Development to Live or vice-versa:
- You’ll see two options:
- Copy Live data into the Development database
- Copy Development data into the Live database
- Select one and use the dropdown to choose what data type to copy (“All types” is recommended to preserve any database relationships)
- To confirm this process, type the prompted phrase in the input and press confirm.
- Or, if you’d like to cancel, simply hit “Cancel.”
Restore database to a previous backup version:
- Use the first dropdown to select which database to restore (development or live).
- Use the second dropdown to choose what data type to restore (again, “All types” is recommended to preserve any database relationships).
- Input the precise date and time and click Restore to this date.
- Click Restore to this savepoint to revert to that version of your app.
- To confirm this process, type the prompted phrase in the input and press confirm.
- Or, if you’d like to cancel, simply hit Cancel.
Unlock your app’s retention window
Six hours is a good start, but two days is safer. Don’t wait until it’s too late to extend your retention window — start a free trial of the Starter plan today. Or compare all plans by visiting our pricing page.