Welcome to the world of no-code! With Bubble's no-code web app builder, you can bring your ideas to life in just 10 days. Whether you're a programming pro or a complete beginner, this guide will help you start building your first web application. Keep reading to turn your product idea into reality.
Day 0: Sign up for Bubble for free.
Time required: 60 seconds or less. Do it before bed and wake up to a new no-code world!
Create your Bubble account to start building for free, no credit card and no coding required. If you’ve been wondering how to make an app for free, this is the perfect starting spot.
Day 1: Get familiar with the Bubble editor and create your first app.
Time required: 60 minutes. That’s one episode of your favorite prestige drama.
Watch our Getting Started series over at Bubble Academy!
This crash course covers all the key concepts you need to get started. Follow along and create your first new web application by clicking Apps then hitting the Create an app button.
If you’re not ready to start building, try brainstorming the features you want to include in your minimum viable product (MVP). A list of 3–4 key features is a good place to start. Write those down and begin thinking about the kind of data types you'll need to start building those key functions.
Day 2: Take the interactive lessons and wireframe your web app idea
Time required: 50 minutes, or how long it takes a batch of brownies in the oven.
Our interactive lessons will help you get familiar with the basic tools in the Bubble editor that you'll need to build any web application.
In between lessons, you can also create wireframes of your application’s pages, either on paper or using a prototyping tool. Wireframes are simple mockups of your page design. This is where you should also consider how many pages you want in your web app. Do you want everything to live on one page? Or would your app work better with different pages for different features. For example, if you were building a resale site, you'd want a page to create a listing that was separate from a user’s page.
Day 3: Revisit the lessons in hard mode and go over the fundamentals of web app development.
Time required: 50 minutes, less than the time it takes to complete an escape room.
If you breezed through the lessons, try them again in hard mode (without the arrow helping you navigate).
Bonus: Now that you’re more familiar with the editor, review the Getting Started series. Or, watch one of our shorter tutorials to go over any concepts you’re still not sure about. Then, and ask yourself a few more questions about your app's design: Do I want my app to be mobile-friendly? If yes, get familiar with the responsive editor. Am I going to be creating a multilingual app? If yes, the languages section in your app’s settings tab will be your friend.
Day 4: Build your database
Time required: 1–2 hours — less if you’ve been thinking like a programmer.
In your new application, use your past few days of brainstorming to create your data types in the data tab. This is a key step in making your Bubble app and sets Bubble apart from other simple website builders or no-code tools. Database creation normally requires engineering skills. With Bubble, all you need to develop apps is the logical mindset to set up your app's data organization. These data types will allow you to build dynamic pages, set up workflows, collect inputs from your users, and more.
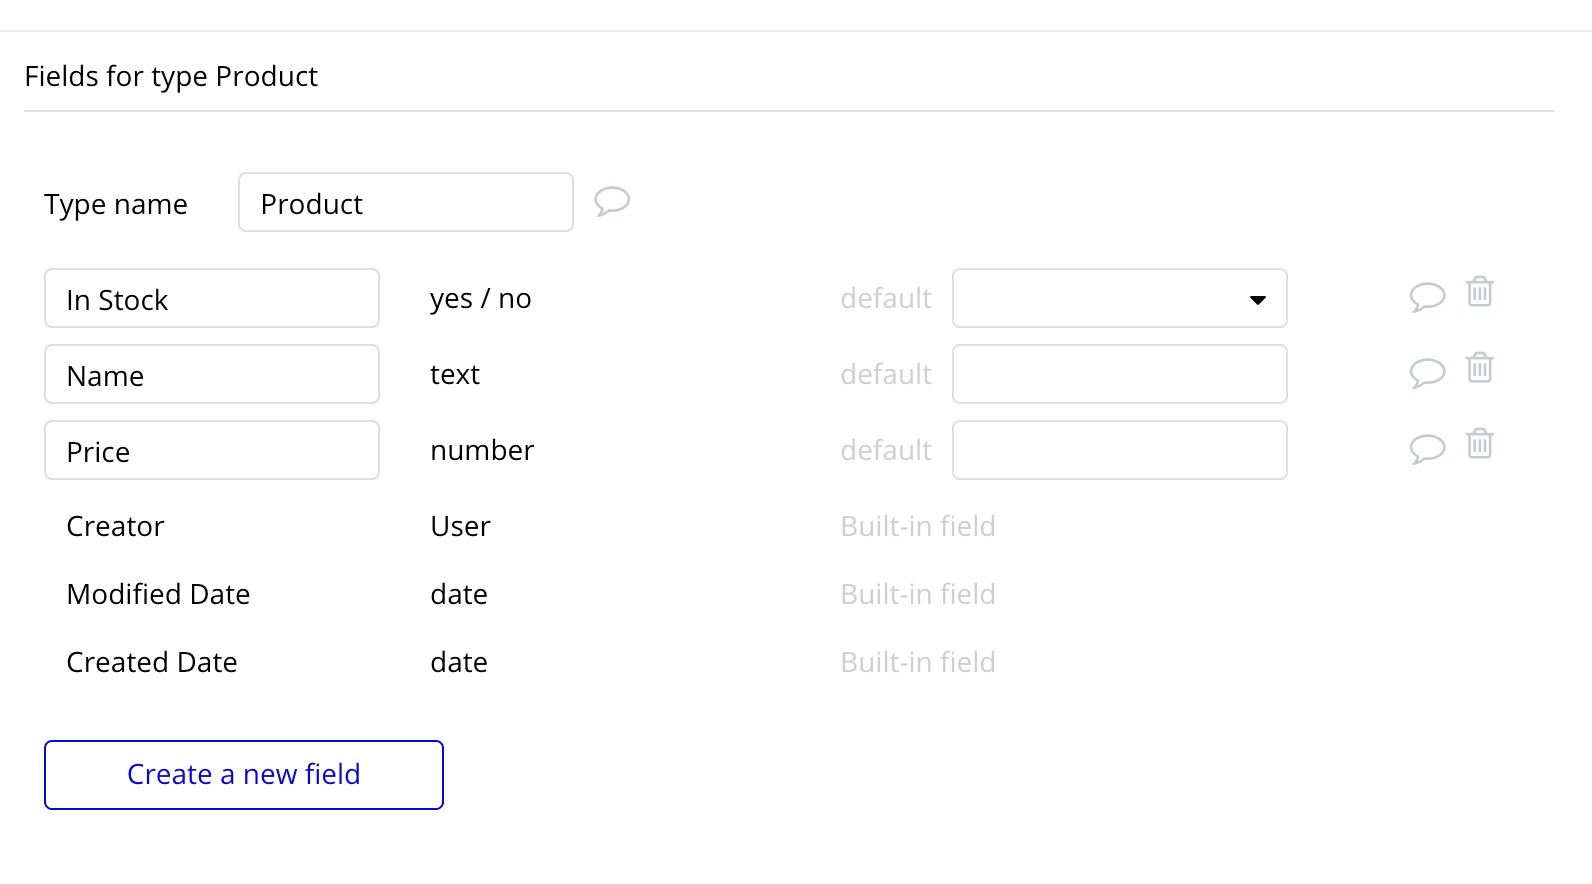
- Identify your main data types. All Bubble apps come with a User data type set up already, but you can customize it further if you need to.. The other data types will depend on your application. Your marketplace might have a type of Product for sale, your internal management tool might have a Task, and your community site might have a Post. Your app is yours, so you create the data you need.
- Add some relevant Fields under each data type. Common fields might include Name (text), Price (number), Content (text), Date (date), etc.
Advanced data tip: Do any of your data types relate to each other? When two types of data need to connect to one another, there are a few ways to join them. For example, you can add them as fields under their respective data type (check the box that indicates it's a list if you expect many of them). Read more about this in our manual.
If you forget something or want to add a new field or data type to your database, you can easily add the entry in your data tab whenever you need it. Be careful if you’re deleting or modifying your data types after you've built workflows. Always double-check to make sure they run correctly.
Bonus: Populate your database with some real data by manually adding a new entry in your data tab, or uploading a set of existing data from a .csv or Excel file. In the next few days, you can create input elements so your users can generate that data, or connect workflows to create data from actions or events around your app.
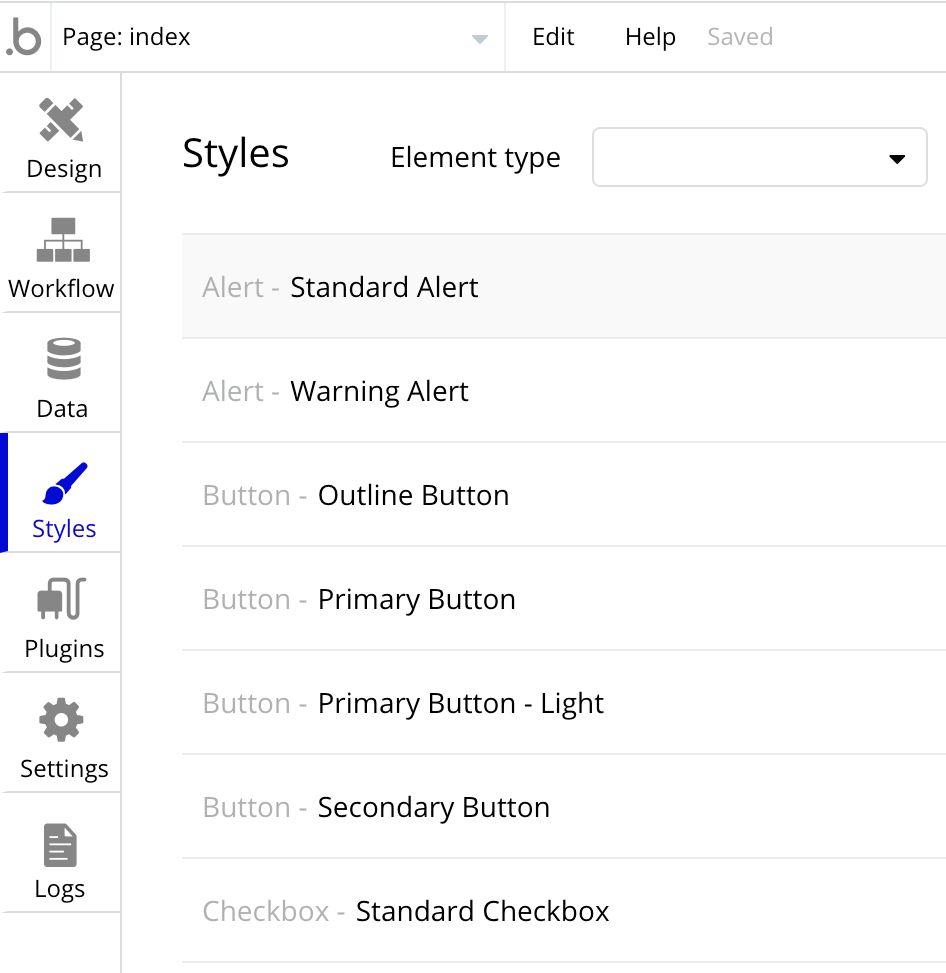
Day 5: Create your web app's pages and customize your styles
Time required: An afternoon, depending on how much you like to tinker.
Now it’s time to begin building the basic pages and reusable elements you'll need, starting in the top left corner of the editor. Reusable elements are for any visuals you want on multiple pages. Think headers, footers, and site-wide popups.
Many — but not all — apps need:
- A homepage where most users will land whether logged in or out
- Pages most or all users see like marketplace, search, and dashboards
- Special pages displaying info for one data type like user profiles or individual items in a marketplace
- Admin portals or pages for users with particular permissions
- Reusable pages or popups like logins and places to enter data into inputs
Don't forget to visit the styles tab to begin adjusting your app-wide style setting for elements that you'll be creating soon.
Did you know? You can set a page’s Type of Content to be a data type. You use this when you want to generate dynamic content on that page based on your database. Examples of pages that use this include: a Restaurant profile in a food review app, User profiles on a social networking site, and an individual Item page in a marketplace. We’ll touch on element content tomorrow.
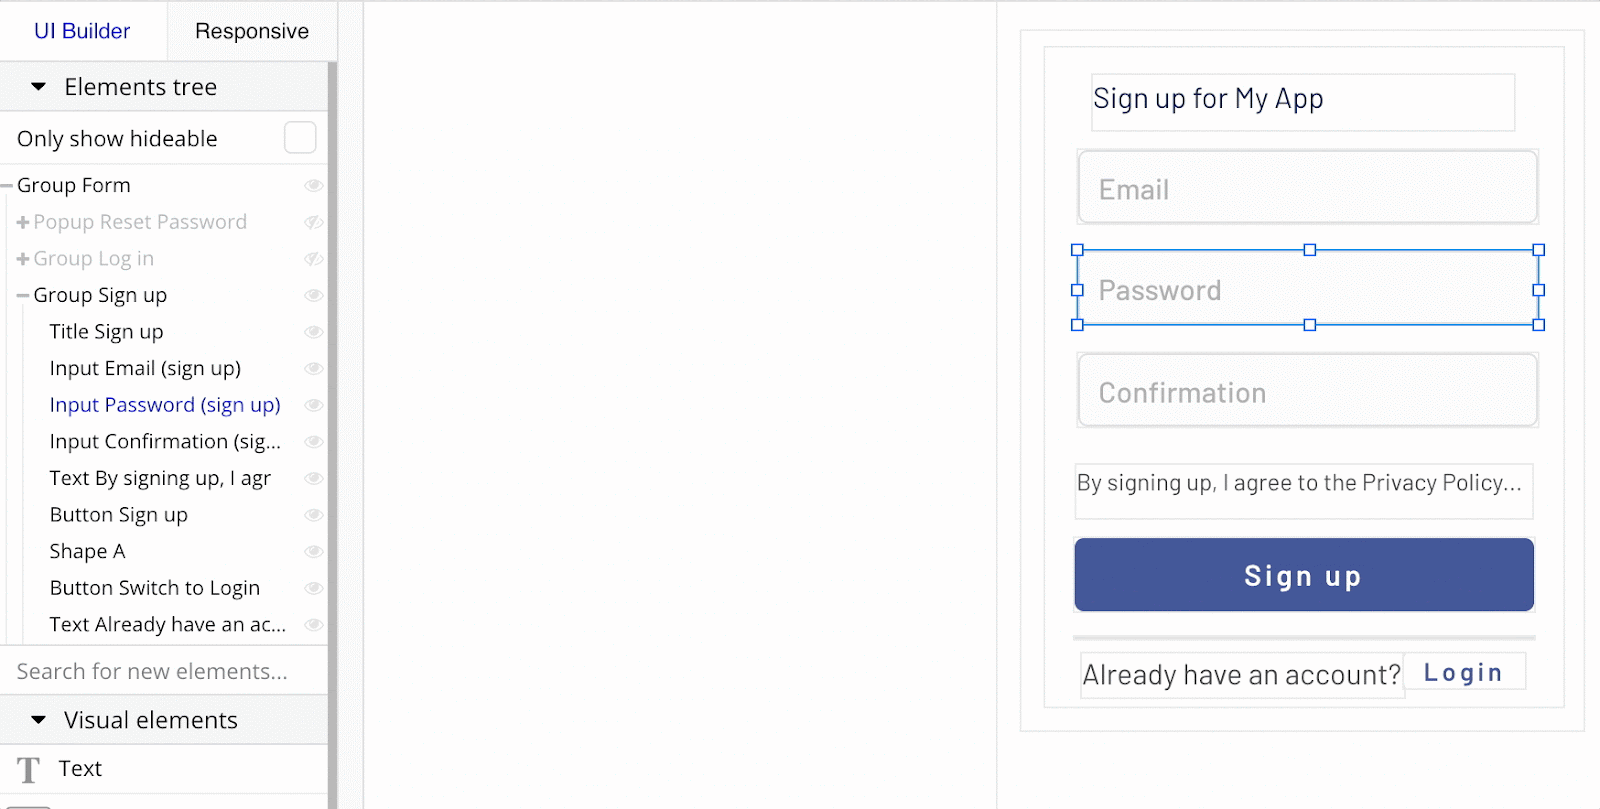
Day 6: Design your elements and set up your integrations
Time required: A morning, afternoon, and evening, but less for every repeating group you have.
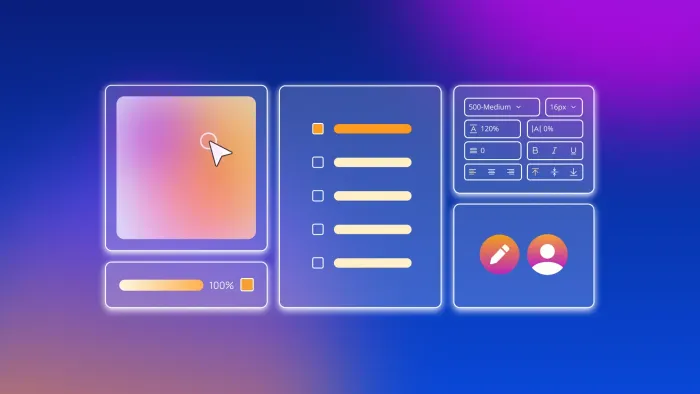
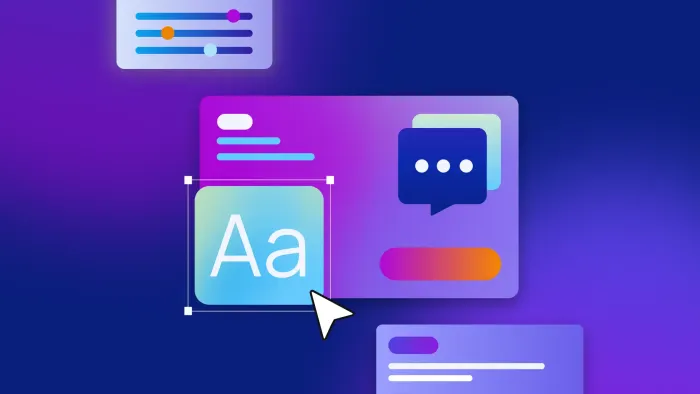
In the design tab, you can create buttons, links, images, text input elements, and more on your pages. In the responsive tab, you can check to see how your app appears on various screen sizes. You can also create hiding rules to determine which elements appear on smaller screens.
Three other key things you should know about elements are:
- Dynamic content: When you click Insert dynamic data, you can pull content from your database to display when the app is live. This is essential when building complex web apps like marketplaces and internal tools.
- Conditionals: You can create conditional rules to change individual elements, like hiding the login/signup button on your site when a user is logged in.
- Groups and Repeating groups: For any app that makes use of lists of things (movies, store items, comment threads, etc.), Bubble's repeating group element is the easiest way to generate dynamic content on your pages.
You can design on Bubble from scratch, import a template, or try our import from Figma feature. With Figma, you can transfer your mockup into Bubble with corresponding elements that are ready to be connected to workflows.
Now’s the time to consider extra plugins and integrations for custom features like adding Zoom video or connecting to external APIs like Stripe for payment workflows.(we’ll cover those next). You can search the marketplace if you have a specific feature in mind, or check out this roundup of commonly used plugins.
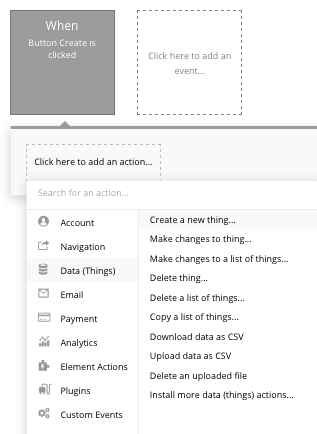
Day 7: Link it all together with workflows
Time required: 3+ hours, depending on how complex your MVP is.
Workflows are powerful ways to turn your app from a basic design to a working product. Building workflows will help you connect your data to your design and make your app fully functional!
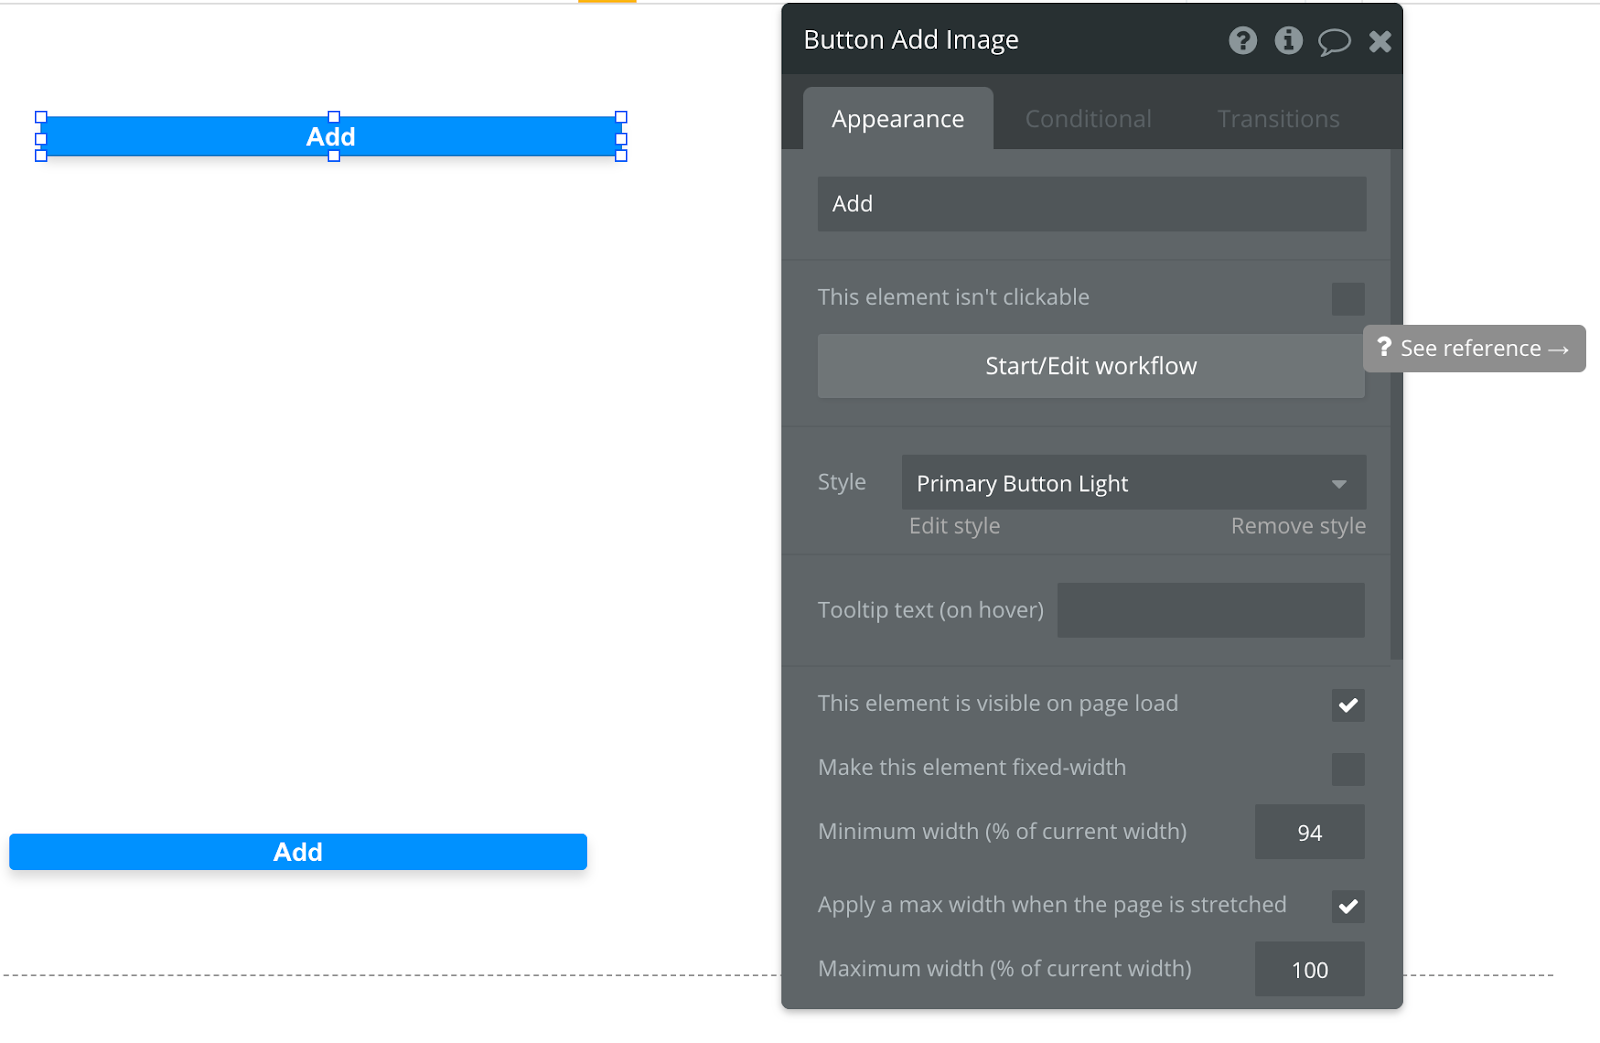
Right-click on individual elements to Start/edit workflow or navigate to the workflow tab to start from scratch. Here are some common workflows you might want to start with:
- Make your buttons clickable and specify what they do (e.g. sign a user up, log them in, log out, go to a page, etc.)
- Navigate to internal pages or change how groups of elements appear on your page (hiding, showing, changing colors)
- Send users emails based on their actions
- Set up and receive payments from users
- Create new entries in your database from input elements in your app
- Run any APIs or integrations you've set up
This step can take a bit of time and care as you connect your design to your data. But once you're done, you're almost done building a web app with no-code!
Day 8: Add privacy rules
Time required: 30 minutes, or about the time it takes to set up a VPN.
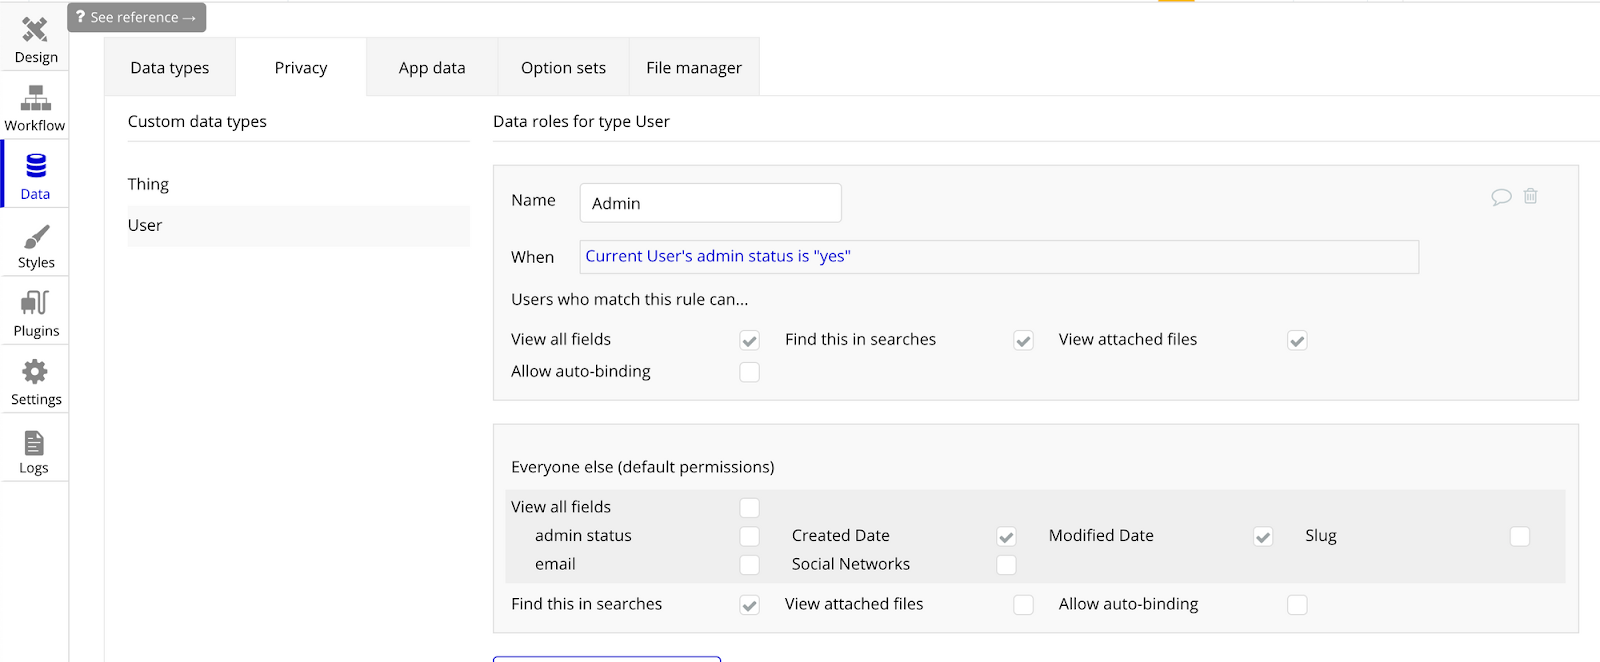
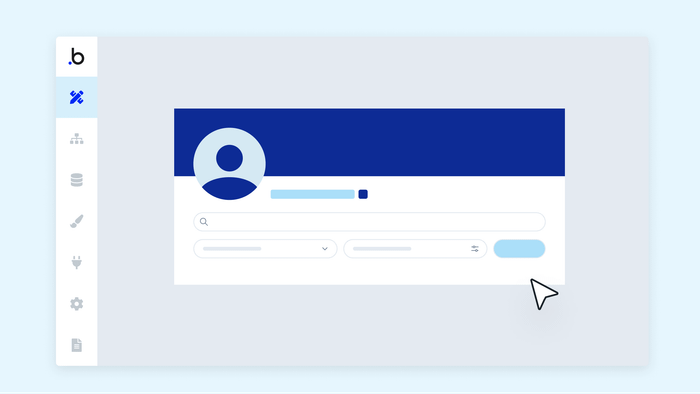
Web apps need custom permissions because you may want different users to see different things. By default, anyone (logged in or out) can see all data types and pages of your app. Go to the data tab and click Privacy to set up some privacy rules in your app for your various data types.
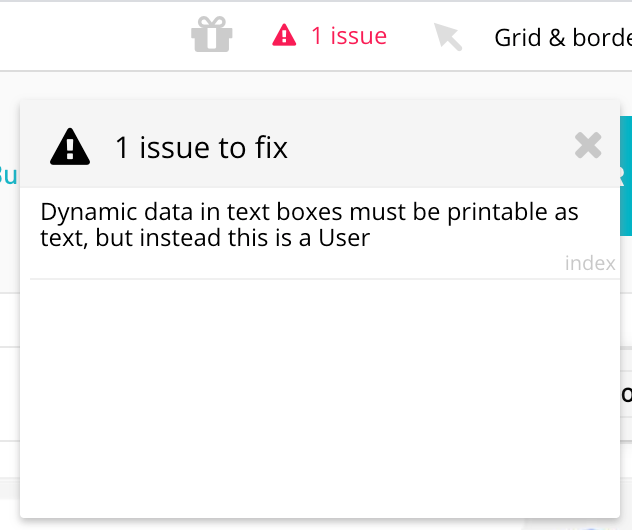
Day 9: Test your app and debug any issues
Time required: 90 minutes or less. Pro tip: ask a friend to help!
Test mode allows you to preview your app before you publish it. Try out your app in run mode and see if it behaves as you expect. If you notice something wrong, Bubble comes with a handy debug mode and issue checker in the editor. You should also go back to the editor to see if your elements, workflows, and privacy rules are working as intended. This is a good time to show your project to a friend or colleague.
If you need help, visit our Support Center or ask on our forum.
Day 10: Launch your app!
Time required: 5 seconds or less — it’s just one click!
When you’re ready to deploy your app on Bubble, you can upgrade to one of our paid plans. Paid plans come with the ability to connect with any domain you own, more analytics, and features like recurring workflows. Once you’re ready, just hit Deploy to Live.
And there you have it! You've just made an entire web app with no-code.
Day 11: What’s next?
Now that you’ve jumped into the world of web app development, there’s a lot you can do. Whether it's adding new features, refining the user experience, or scaling your app to reach a wider audience, Bubble provides the flexibility to make updates in real-time. Don't be afraid to experiment and iterate as you navigate the exciting world of web app development.
Bubble is a software development platform that enables anyone to build and launch fully functional web applications without writing code. We can’t wait to see what you build.
Build for as long as you want on the Free plan. Only upgrade when you're ready to launch.
Join Bubble