This is how I built, step-by-step, an app for uploading and voting on cute puppies using Bubble. It took me just over 30 minutes, and I did it without writing any code.
You can see the finished app here: https://bubble.i0/site/cutepuppy/
And you can view the “source code” here: https://bubble.io/page?id=cutepuppy
Part I: The Design
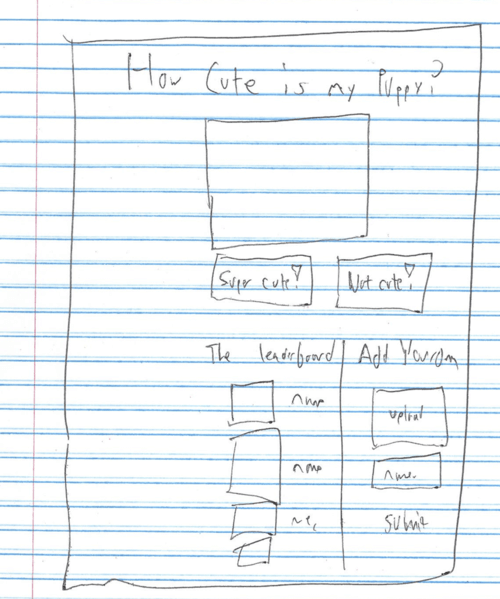
I decided to make it a single-page app to keep things fast and simple. The three things I wanted to let people do were add puppies, vote on puppies, and see the leaderboard. To start out, I made a quick sketch of what the app should look like:
Okay! Next, I created a new app in Bubble and set to work:
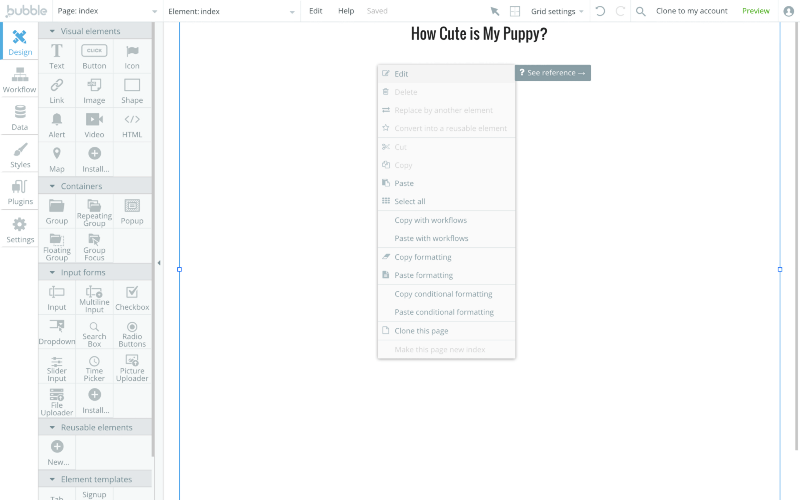
I started by creating the headline, the image of the current puppy, and the two voting buttons. I used a Text element for headline, an Image element, and then two Button elements. You can’t really see it in the screenshot, but I put the picture and the button inside of a Group, which we’ll use later to represent the puppy we’re voting on:
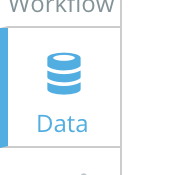
Next, to create the leaderboard section, I used another Text element. To make a list of the top 5, I used a Repeating Group:
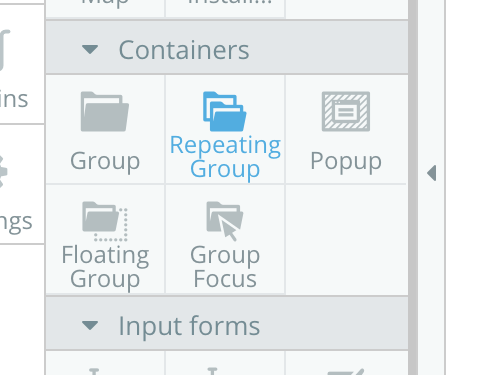
Repeating Groups automatically copy whatever you put inside of them:

Finally, I created the “Upload Your Puppy” section using a Text element, a Picture Input element, and a Button:
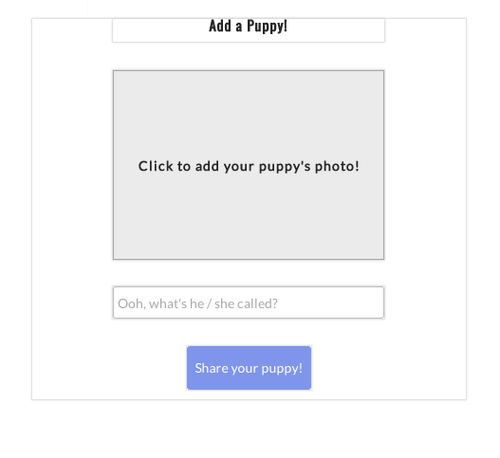
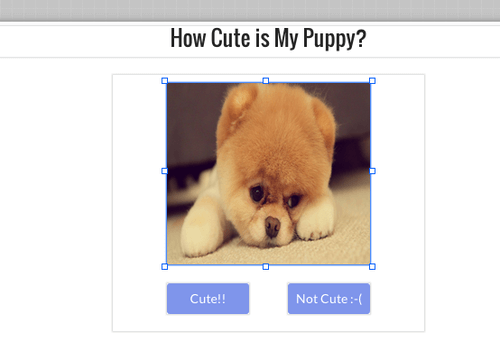
I wanted to see what it looked like, so I clicked the Preview button….
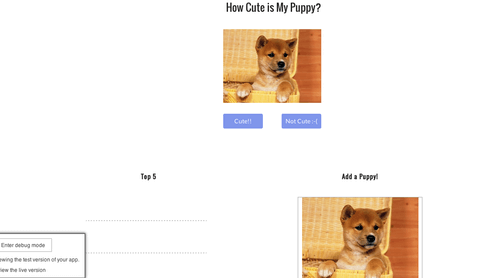
…and here it is:

Part II: Data Structure
Now that my app was looking more or less the way I wanted, the next thing I needed to do was figure out what happens when a user adds a new puppy.
I decided we should store a new “Puppy” item for each puppy a user added. I sketched out on a piece of paper the things we’d need to know about puppies:
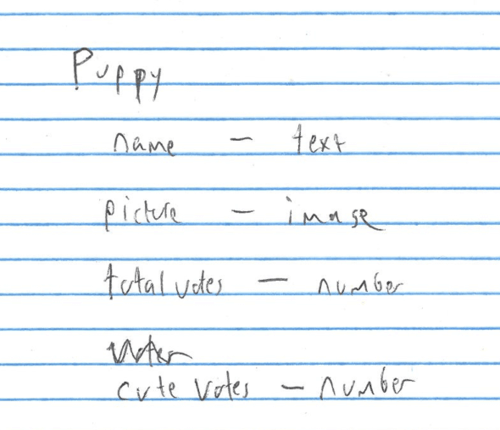
A puppy has a name and a picture, both of which the user enters. We also want to track, behind the scenes, the total votes for the Puppy (which include cute and not cute), and the total number of cute votes solely.
With that decided, I opened the Data Tab and went to the custom data types section:

I then added the four fields: name, picture, total votes, and cute votes:

With my data structure created, I was ready to move on to the final step….
Part III: Programming the app!
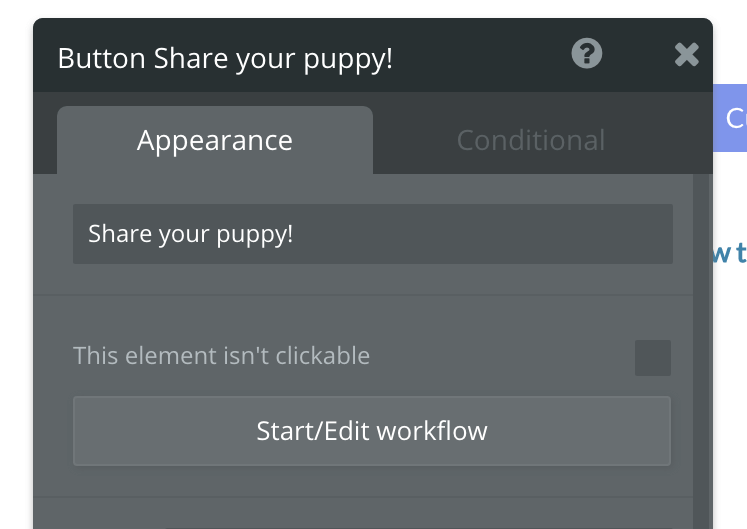
I wanted to start by programming the “Add a Puppy” section, since we can’t do too much before we’ve added any puppies. I clicked on the “Share your puppy!” button, and then “Start/Edit Workflow”:
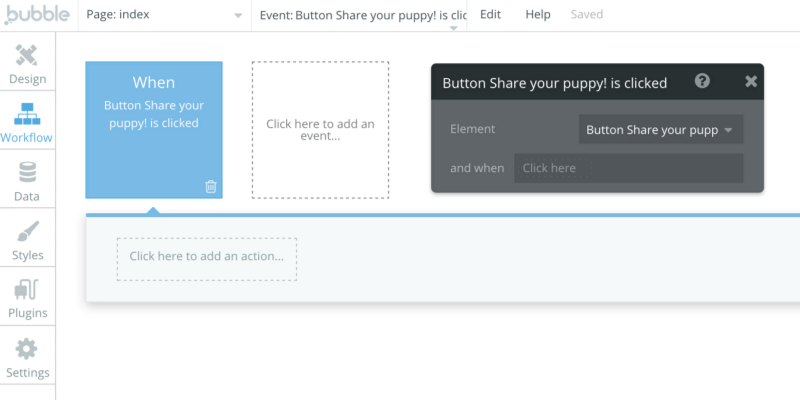
This created a new event: “When Button Share your puppy! is clicked”. In other words, we can now tell Bubble what should happen when someone clicks on that button:
What I wanted to do here was create a new Puppy in the system, and save the puppy’s name and the photo that the user uploaded. So I clicked on “Click here to add an action” and found the “Create a new thing…” action:
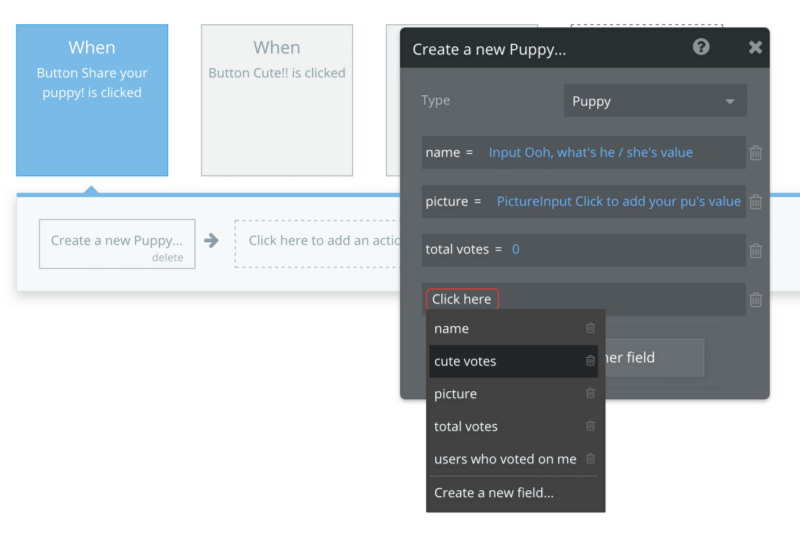
I set the new puppy’s name equal to the value of the Input I had created to let the user type the name. Likewise, for the puppy’s picture, I selected the value of the Picture Input. I set both total votes and cute votes to zero, since the puppy hasn’t been voted on yet.
Now that I finished programming “Add A Puppy”, the next thing I wanted to do was display puppies and let the user vote on them. I went to the image of a puppy that I had added:
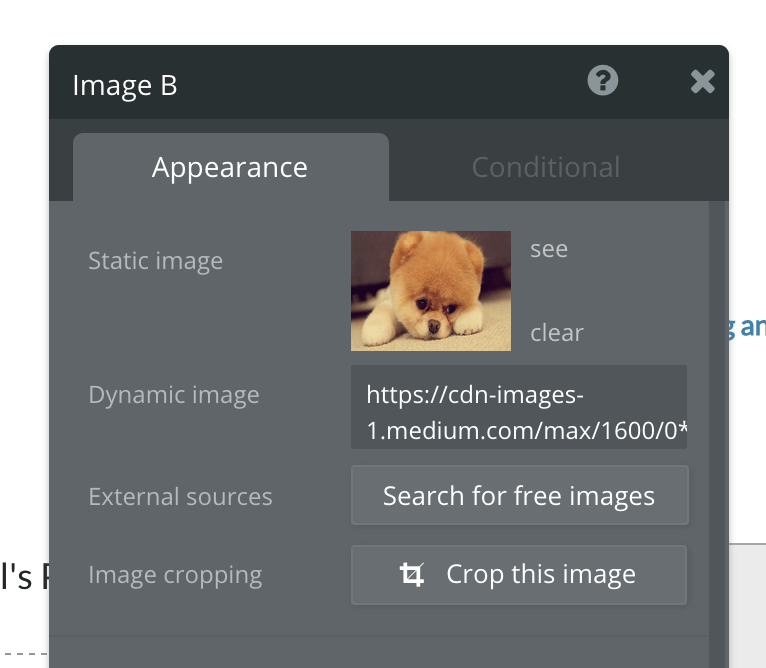
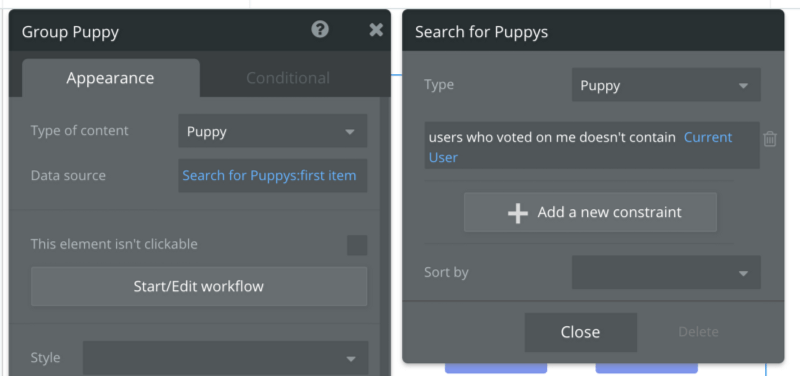
Then I uploaded a picture of an adorable orange puppy as a placeholder so I could see what the page looked like. But what I really wanted was to show a user-uploaded puppy! So, I went to the Group at the top of the page, and selected “Puppy” as the type of data to display in that group:
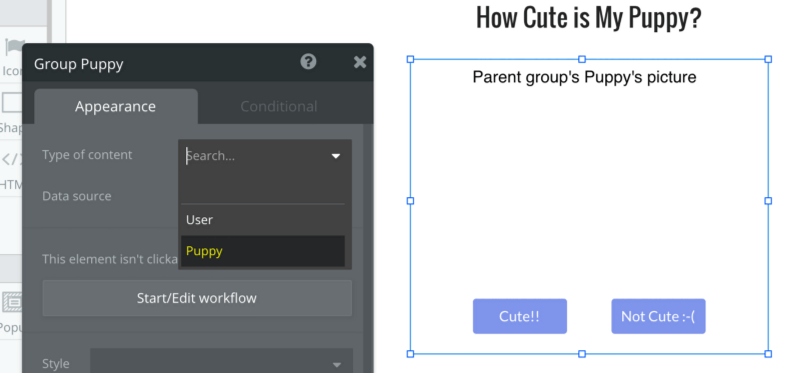
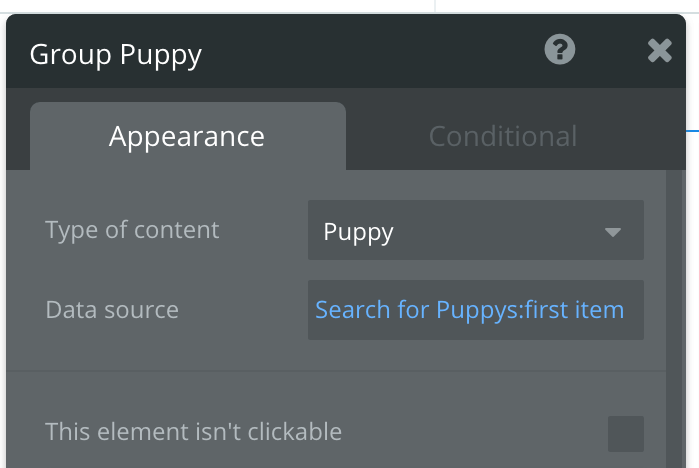
I then indicated that I’d like to do a search for puppies display the first result that I’d found in the Group:
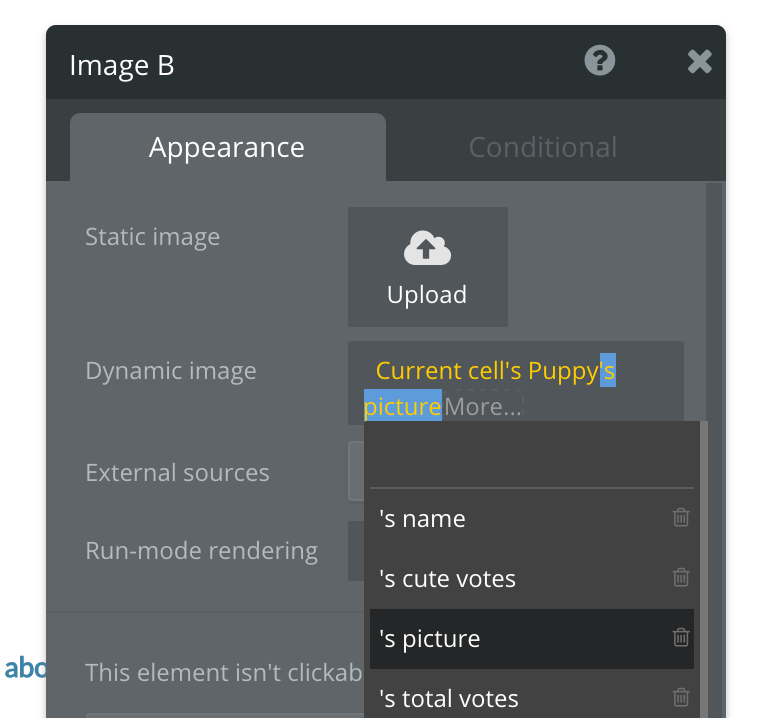
Finally, I went to the Image in the group, and set its image to be the Parent Element (i.e., our group)’s current Puppy’s picture:
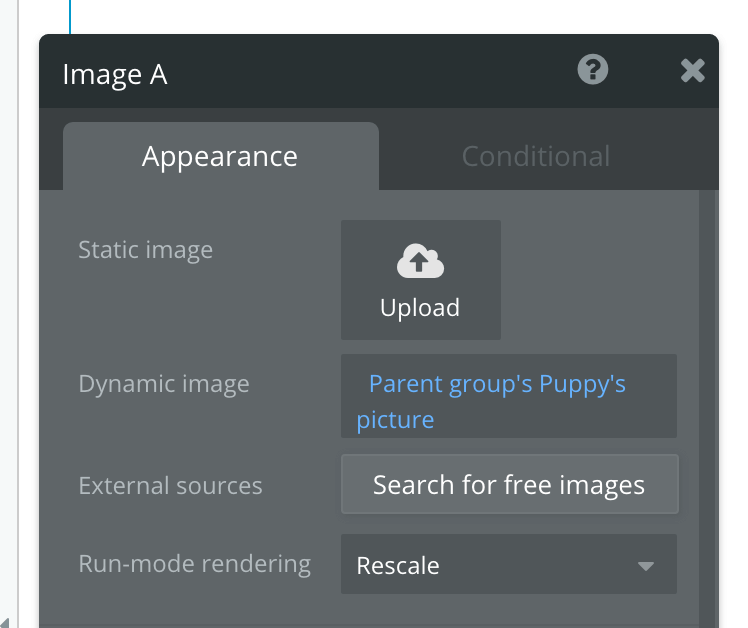
I clicked “Preview” again, and tried uploading a picture of a puppy. Sure enough, the picture automatically showed up!
Okay, time to get the voting working! Like I did before with the “Share your puppy” button, I clicked on the “Cute!!” button, and clicked “Start/Edit Workflow” to create a new event.
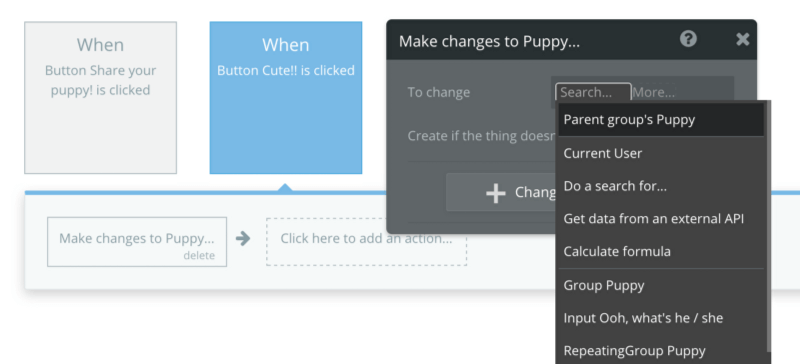
This time, instead of creating a new Puppy, I wanted to modify an existing one — specifically, I wanted to take the current Puppy being displayed, and increment the vote count. So, I created a “Make changes to thing…” action, and selected the Parent Element’s current Puppy: the puppy currently being displayed in the Group.
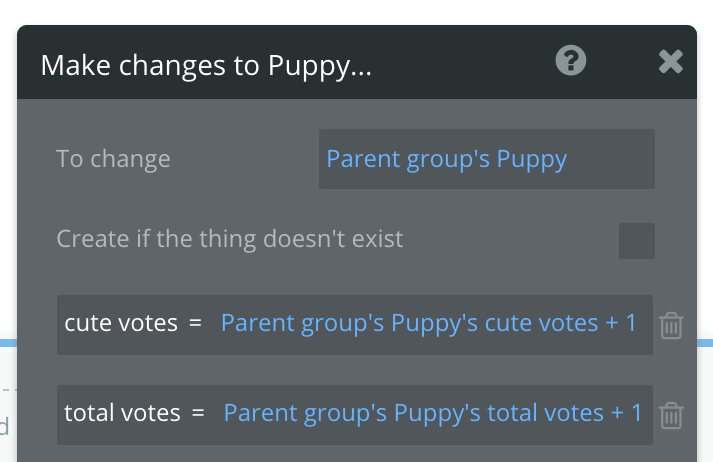
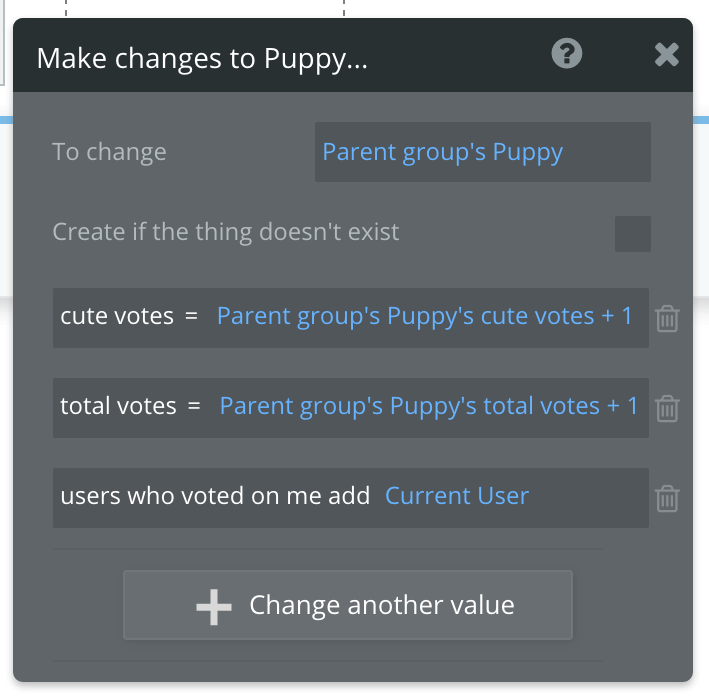
I set it so that whenever you click the button, both the cute votes and the total votes are increased by one:
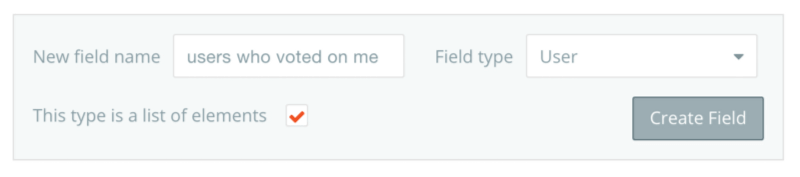
The other thing I wanted to do when the user votes on a puppy is to show the user the next puppy to vote on. So, we need some way of keeping track of the fact that the user has already voted on a puppy. The way I decided to do this was to add a list of users to the Puppy data type. I went back to the data tab and created a “users who voted on me” field, making sure to select “User” as the type and check the “this type is a list of elements” box.
I then went back to my “Make Changes to a Puppy” action and told it to add the current user to list:
Okay. Now how to change the puppy picture when the user clicks? It turns out that all I need to do is modify the search that the Group uses to find a puppy, to tell it to skip puppies that the user has already voted on:
Bubble searches are updated in real-time, so as soon as the user clicks “Cute!!” and we mark the current puppy as having been voted on, the search will update and show a new puppy, and the picture will automatically change. Adorable!
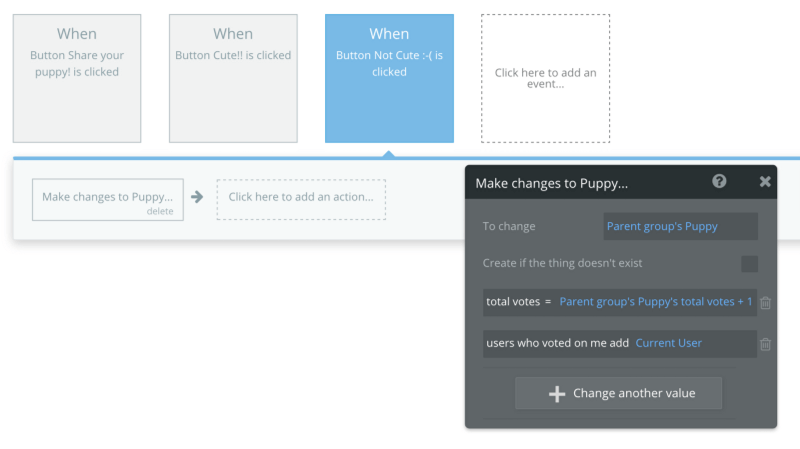
Programming the “Not Cute :-)” button was basically the same… the only difference is that although we update the total number of votes, we don’t update the number of cute votes:
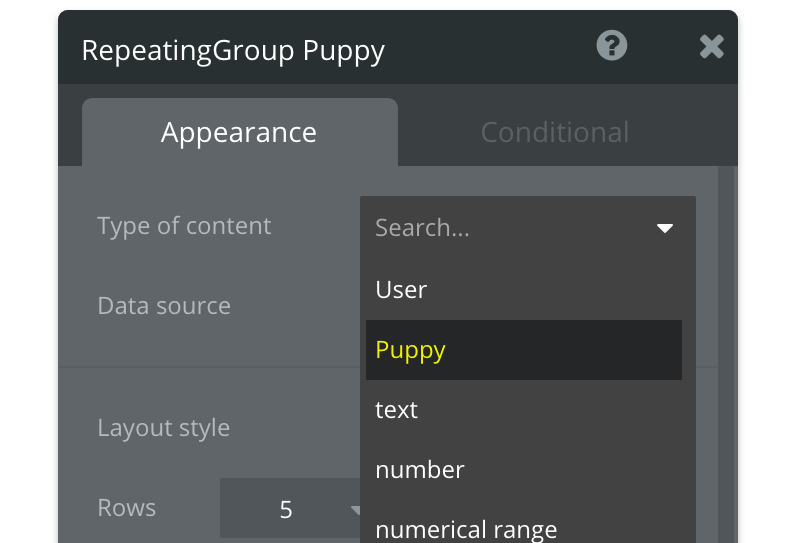
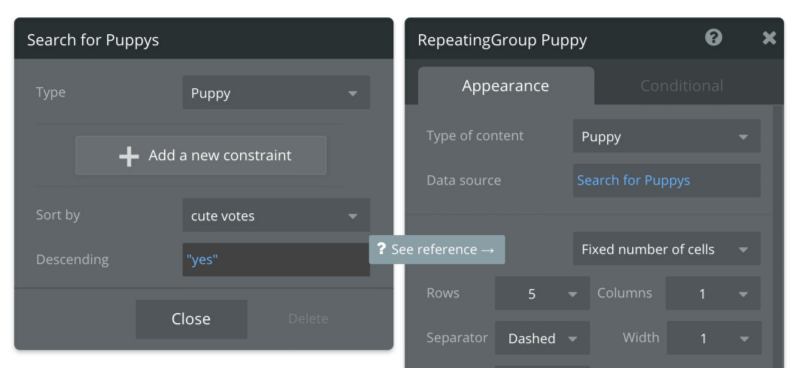
Alright, now that I had finished voting, the only thing left was to display the top five cutest puppies! This ended up being pretty simple… I went to the Repeating Group I made at the very beginning and selected “Puppy” for the type of content:
Then, as the data source for the Repeating Group, I did a search for puppies sorted by “cute votes” in descending order. (I’m ignoring total votes for now, although I could take that into account too if I wanted to). This automatically displays the five cutest puppies!
I then had to tell the image and text to show the Parent Element (i.e, the cell of the Repeating Group)’s current Puppy’s picture and name, respectively:
…annnnnd, I was done! There it was:
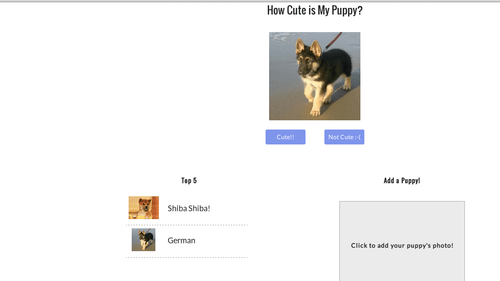
Upload your own puppy at http://bubble.io/site/cutepuppy/.
There’s a bunch more stuff I could do with this app. For instance, I could let users log in so that they can see and manage the puppies that they’ve uploaded. I could display the percent of people who thought a puppy was cute. I could let people zoom in on the puppy pictures. For now, though, this is enough to get it out into the world and let people start playing with it.
Bubble makes development and iteration super fast… it took me much longer to do this write-up than it did to build the actual app!
Build for as long as you want on the Free plan. Only upgrade when you're ready to launch.
Join Bubble