Here’s what you need to know
To build an app for your business, follow these steps:
- Define your app's core purpose and business goals
- Research the market and validate your idea
- Map out features and user flow
- Design an intuitive UX/UI
- Build your app in Bubble
- Test, refine, and prepare for launch
- Launch and drive user adoption
- Iterate and scale
Building an app for your business used to mean long timelines, complex coding, and big budgets. Your team needed developers. Your timeline stretched to months. Your costs ballooned into six figures.
That's changed. AI app development platforms let you design, build, and launch professional-grade apps without writing code. You can turn business problems into working solutions faster than ever.
This matters now because your competitors are already moving. Internal tools that automate workflows save hours daily. Customer-facing apps create new revenue streams. The businesses building apps today gain advantages that compound over time.
This guide walks you through how to build an app for your business in 8 simple steps using Bubble's AI visual development platform. You'll use AI to generate your app's foundation, then customize it visually to match your exact needs. No technical background required. By following these steps, you'll go from concept to a working app in as little as 2–4 weeks for lightweight tools, or 8–12 weeks for more complex applications. You'll finish with a production-ready app that solves real business problems, ready to launch to your first users.
Step 1: Define your app's core purpose and business goals
Before you start designing screens or choosing features, you need to answer one question: What single problem does this app solve?
A useful framework for this is Jobs-to-Be-Done. It forces you to think about the outcome your users actually want:
- Who's using the app?
- What outcome are they trying to achieve?
- How will they know it worked?
Try writing it as a single sentence: "As a warehouse manager, I want real-time inventory counts so I can cut stockouts by half." The more specific and measurable, the better.
Your success metrics will depend on what type of app you're building. Internal operations tools should track time saved per task and error rates, while customer-facing apps need to measure user acquisition and retention.
Step 2: Research the market and validate your idea
To validate your idea, you need clear evidence that people will actually pay or use the app you're planning to build.
Start with a short survey focused on three things: the pain point, current alternatives, and willingness to pay. Ask questions like:
- "What's the hardest part of [problem]?"
- "How are you solving it now?"
- "What would you pay for a better solution?"
Share the survey in Reddit threads or LinkedIn groups where your target users actively discuss this problem.
Follow up with five deeper interviews. Give prospective users 20 minutes to walk you through when this problem has hit them hardest. Ask about their current workarounds and their budget for fixing it.
Then build a simple landing page in Bubble with a clear headline, your value proposition, and a "Get early access" button that you can share with your network to build interest before app launch.
Step 3: Map out features and user flow
Your MVP should focus on three to five core features that work together to solve the main problem.
Write each feature as a user story: "As a [role], I want to [action] so I can [outcome]." If you struggle to complete that sentence, the feature probably isn't clear enough yet.
Use MoSCoW prioritization to sort your ideas:
- Must-have: Core features that solve the main problem
- Should-have: Important but not critical for launch
- Could-have: Nice polish that can wait
- Won't-have: Explicitly ruled out to keep scope manageable
Next, sketch out the user journey. A simple diagram should show how someone lands on your app, completes the main task, and exits successfully. Look for any gaps or confusing paths.
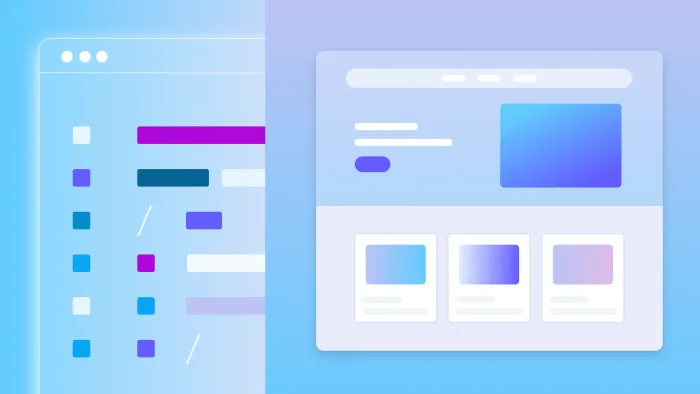
Once you have that mapped, open Bubble and translate your sketch into data types using our built-in database designer. Define the main objects your app needs (User, Order, Ticket, etc.) and connect them based on your user flow.
Step 4: Design an intuitive UX/UI
To design an intuitive user experience, use consistent navigation patterns across every page. Give clear feedback when users take actions: confirm saves, show loading states, and explain errors. Strip out any interaction that doesn't move the user closer to their goal.
Design for mobile from the start—most users will access your app on their phones, so build touch-friendly interfaces with appropriately sized buttons and simplified navigation. Build for accessibility from the start by designing for keyboard navigation, screen readers, and high-contrast displays.
On the visual side, make sure your body text is at least 16px, use color contrast ratios of 4.5:1 or higher to meet Web Content Accessibility Guidelines (WCAG) AA standards, add whitespace to reduce cognitive load, and create layouts that work on both desktop and mobile.
Bubble makes these rules easy to follow. Our AI app builder creates responsive layouts for every screen size.
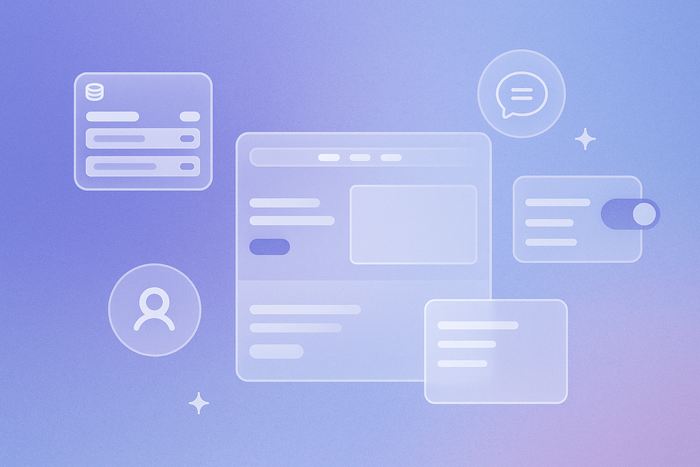
Step 5: Build your app in Bubble
Traditional app development requires coordinating frontend developers, backend engineers, and DevOps teams. Bubble consolidates that entire stack into one interface where you can build your app, starting with a simple prompt.
The Bubble AI Agent (beta) will create the app using your instructions, and you can refine it in the visual editor. There are also thousands of plugins available for things like payment processing, analytics, maps, and advanced charts.
Bubble also builds native iOS and Android apps from the same editor. For integrations, the API Connector lets you hook into any REST endpoint, while privacy and security features are built into the platform so you can handle sensitive data without specialized expertise.
Typical timelines for building apps include 2–4 weeks for a lightweight internal tool, 4–8 weeks for a SaaS MVP, and 8–12 weeks for a multi-sided marketplace.
Step 6: Test, refine, and prepare for launch
Thorough testing before launch prevents the bugs and UX issues that drive users away on day one. The goal is to find and fix problems before your users do.
Start by clicking through every button and form in Bubble's preview mode to verify that everything works correctly. When something breaks, open the debugger and step through each action to see exactly where it failed.
Test your app on desktop, tablet, and phone. Also, check different browsers to catch any compatibility issues. Bubble uses a unified codebase, so you can fix issues once and they'll update everywhere.
Step 7: Launch and drive user adoption
A smooth launch builds trust, and good onboarding turns first-time visitors into regular users.
To drive early traffic, start with the people who've already shown interest. Email everyone who signed up during validation, and cross-promote with complementary products that share your audience.
Get influencers or industry voices to demo your app on LinkedIn or X. Paid search ads can also help you reach people actively looking for solutions like yours. You can also list launch deals on platforms like AppSumo to get initial traction.
When new users arrive, guide them through your app with a short in-app tour, an automated welcome email sequence, and a visible feedback button. These onboarding elements help reduce early churn. Bubble's visual workflow builder makes setting up these flows straightforward.
Track the metrics that matter most: daily sign-ups, your DAU/MAU ratio (daily active users vs monthly active users), and which features people actually use. These numbers show you where users get stuck so you can address friction points quickly.
Step 8: Iterate and scale
Your first launch is just the starting point. Bubble lets you ship new features, bug fixes, and pricing tests quickly based on user feedback.
Set aside time each week to review key metrics: active users, conversion rates, and churn. Bubble's version control system allows you to test changes, then merge them to production when you're ready.
When users request features, sort them using an impact-versus-effort grid. High-impact changes that require minimal effort should ship first. Because everything in Bubble is visual, you can test ideas yourself before committing team resources to build them out.
Start building today
You now have a repeatable framework for building an app from concept to launch using modern tools. With Bubble, you can iterate quickly, manage real-time updates, and scale without technical overhead.
Your business doesn’t need a large team or heavy funding to move forward. Create a free Bubble account, enter your prompt, and watch your app take shape in minutes.
Build for as long as you want on the Free plan. Only upgrade when you're ready to launch.
Join Bubble