In this post, we’ll walk you through the step-by-step process of building an Indie Hackers clone with Bubble. Communities are a powerful way to engage an audience and drive meaningful discussions. Whether forums are for sporting communities, hobbies, work, or our personal favorite, visual programming, there’s a hub for every niche.
Indie Hackers is one of the most popular watering holes on the internet for people interested in starting their own online business. Aspiring and accomplished entrepreneurs exchange ideas and tips freely there. This guide will show you how you can build your own online community just like Indie Hackers.
About the author: Alex has built several revenue-generating apps with Bubble and specializes in UI/UX and API integrations. He’s always interested to hear from aspiring entrepreneurs who want to build using Bubble. If you'd like to hire him to work on your bubble app you can contact him here.
Get Started
Before you start, you’ll need to first register your free Bubble account. Click the button below to get started, then you can follow along as we build our product together.
New to Bubble? Follow along on our introductory videos to get familiar with the basics of Bubble. This will help you get a running start when building an Indie Hackers clone.
When kickstarting your project, you can choose to begin by wireframing your product design, or building the necessary fields within your database. In this case, we’ll start by using Bubble’s visual design tool to shape the user-interface of our platform.
If you’re replicating an app like Indie Hackers, you’ll need to build the following pages:
- Homepage: used to display posts from users.
- New Post: allows users to create new posts.
- Post: a page that dynamically displays content for each post.
- New Group: Allow user to create new groups.
- Community Group: A page that dynamically displays content relevant to each community group.
A major feature within Bubble is the ability to send data between pages. This allows you to create one generic version of a page, then dynamically display the relevant content from your database when it’s required.
In the case of your Indie Hackers clone, you’ll only need to create one page to host your individual posts, products and community groups. We can then write the necessary logic to display only the relevant content for each page when it’s required.
Configuring your database
Once you’ve wireframed these pages, you can focus on creating the necessary data fields to power your application. We’ll rely on these fields to connect the workflows behind your product.
Bubble’s pre-built database makes it easy to create different data types with unique fields. When building your Indie Hackers clone as an MVP, we’ll need to create the following data types and fields.
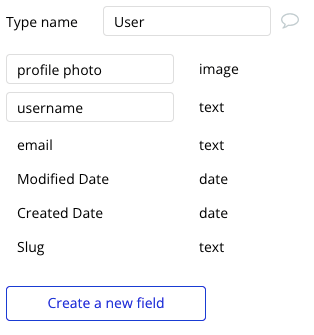
Data type: User
Fields:
- Username
- Profile Photo
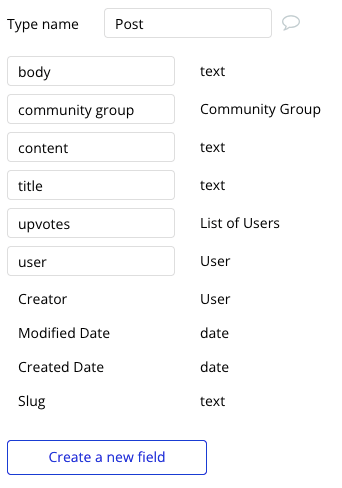
Data type: Posts
Fields:
- body
- community group
- content
- title
- upvotes
- user
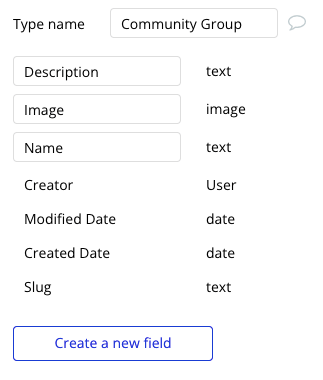
Data type: Community Group
- Description
- Image
- Name
Building workflows
Now that you’ve structured both the design and database of your application, it’s time to start stitching everything together, making your app functional.
In Bubble, the main way to create functionality in your app is with workflows. Each workflow happens when an event occurs (e.g. a user clicks on a button) and then runs a series of “actions” in response (e.g. “sign the user up,” “make a change to the database,” etc.).
Creating new posts
The first core feature we’ll build is a function for users to create posts that will be seen on the homepage and the relevant community group pages.
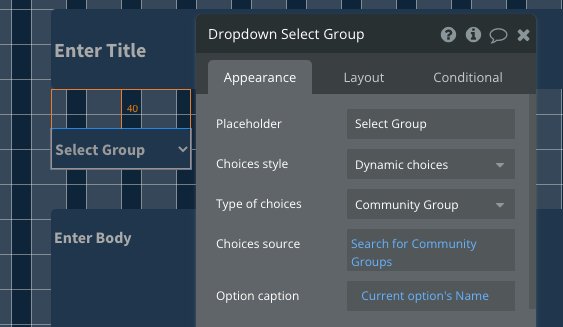
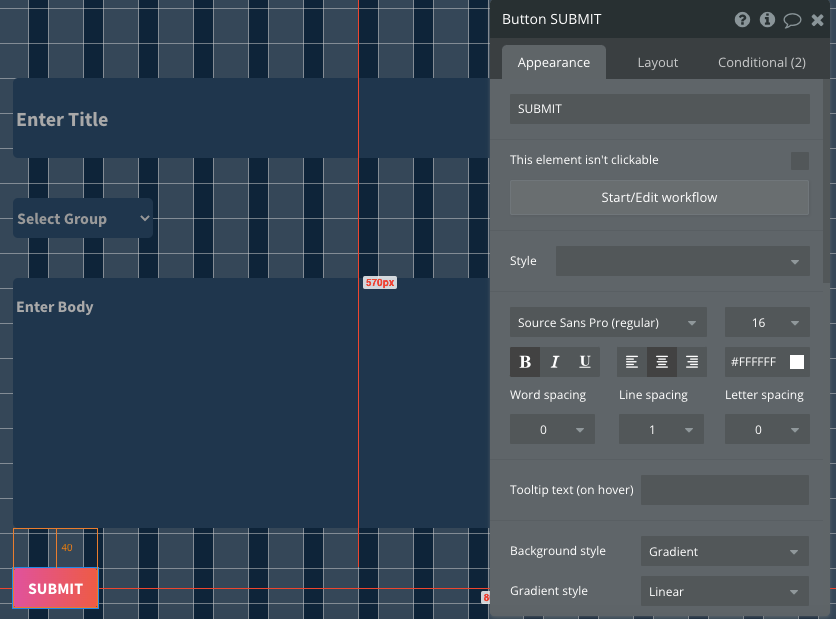
On the “new-post” page of our application, you can start creating this process by using: an input, a dropdown, and multiline input.
For the dropdown, we’re going to make the type of choice “Community Group.”
Once a user has written their post title, selected the relevant group, and written the body of their post, they’ll click the submit button to create a new post in your database. Clicking this button will be the necessary action to trigger your workflow.
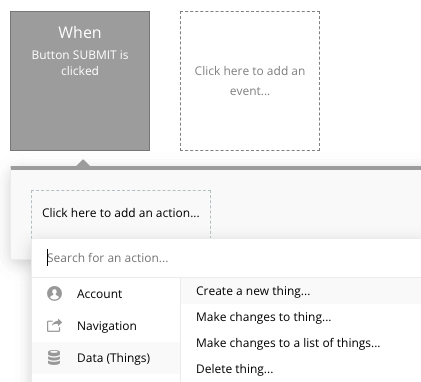
Using the workflow editor, you can select “Create a new thing" within your database. In this instance, we’ll be creating a new post.
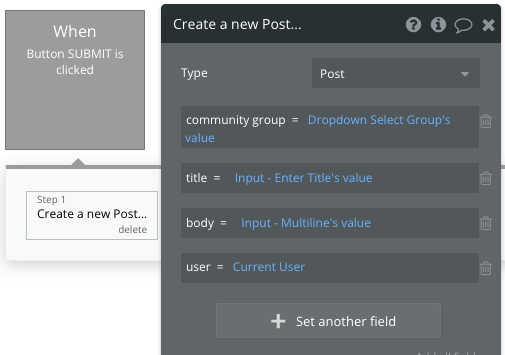
We’ll then need to start adding the relevant fields within our database. Map each input field you’d like to create against its corresponding data field.
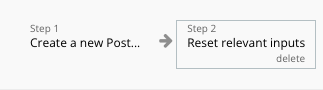
Make sure to add an additional step to reset the relevant inputs so that the information the user enters gets cleared form the page.
Users now have the ability to create posts!
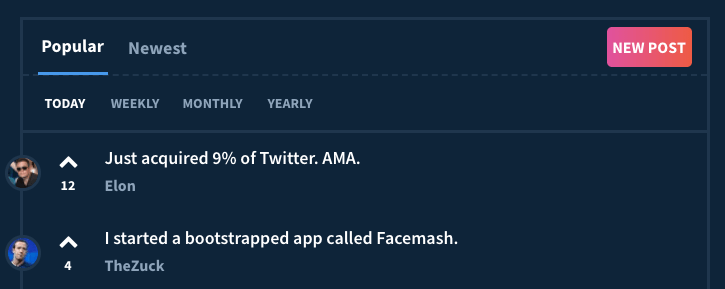
Building a Homepage
Once users have submitted posts to the platform, we’ll need to display these on our home page and relevant community group pages. We’ll start off by building a homepage.
To build this feature, we’ll need to utilize a repeating group element. Repeating groups integrate with your database to display and update a list of dynamic content.
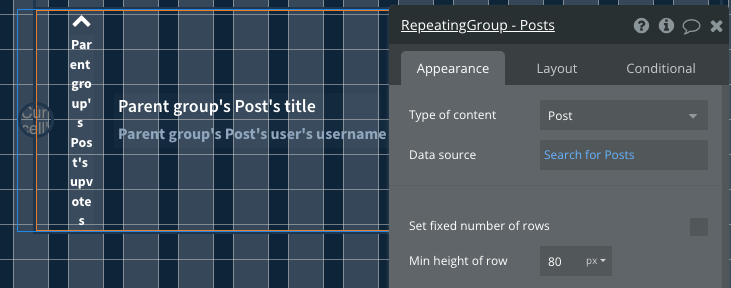
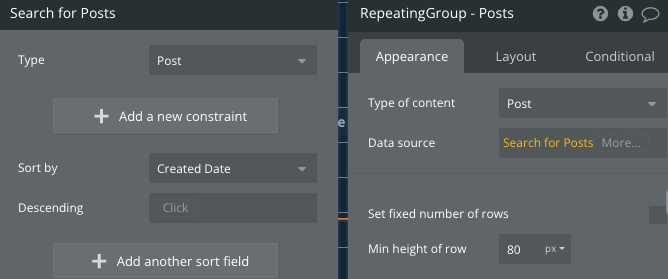
We’ll set the type of content for the repeating group as Post.
Let's also sort the posts in the repeating group by “Date Created” so that the most recent posts are shown at the top of the page.
Next, we’ll drop five elements into our repeating group:
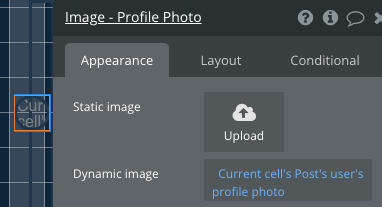
- An image that shows the current user's profile picture.
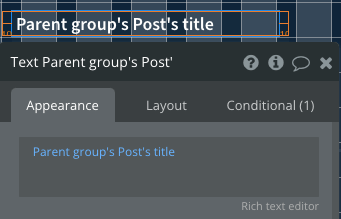
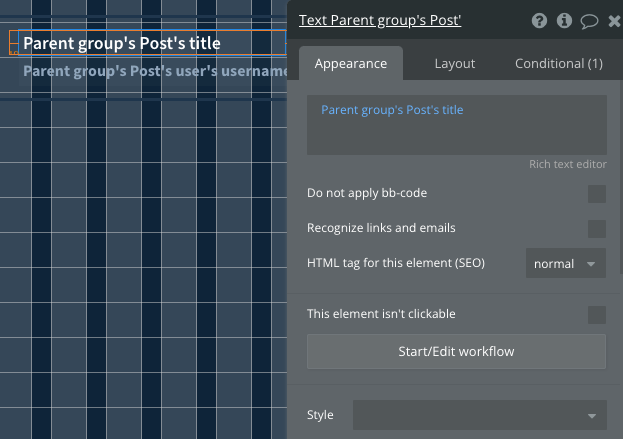
- A text element that shows the current post’s title.
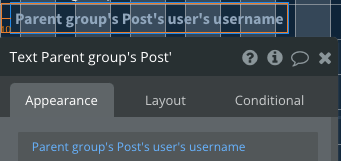
- Another text element that shows the username of the user that created the post.
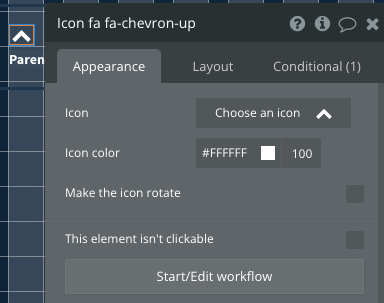
- Finally, we’re also going to allow users to upvote posts. To do this, we’ll add one more text element...
- ...as well as an icon.
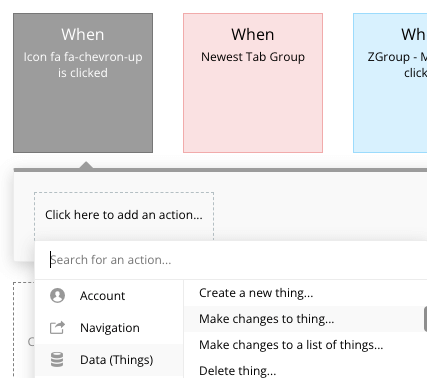
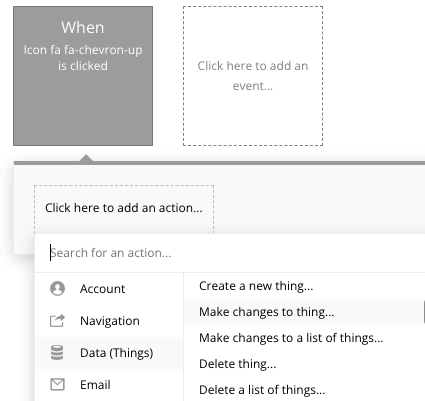
To allow a user to upvote a post, we’ll need to add a workflow action. If a user clicks on the “up” icon, we’ll add that user to that post’s upvotes list.
Within the workflow editor, you’ll start by making changes to a thing.
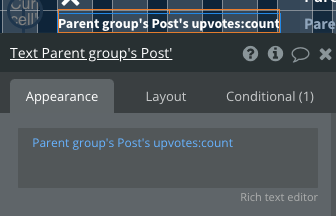
We’ll need to make changes to the parent group’s Post. We’re going to add the current user to the upvotes list on the current post.
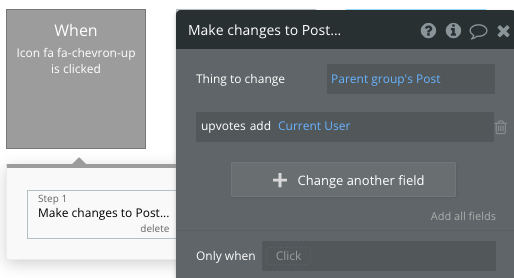
The text element will show the count of the number of users who have upvoted a particular post.
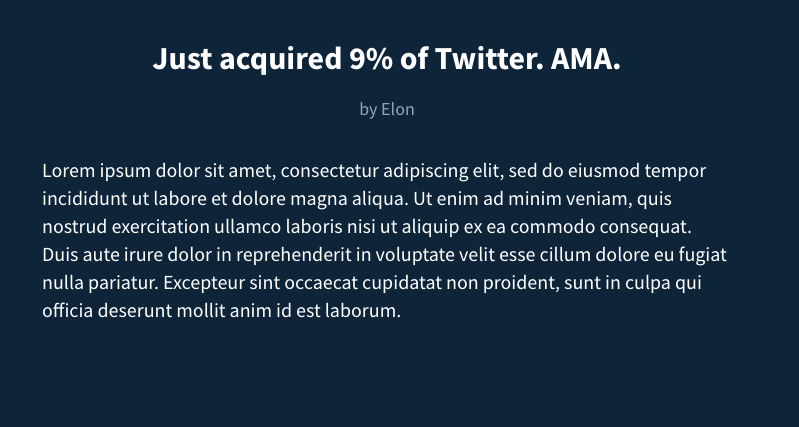
Sending Data to a “Post” Page
As each post card on the homepage only contains the headline of its respective post, we’ll need to display the full body of the post on a separate page.
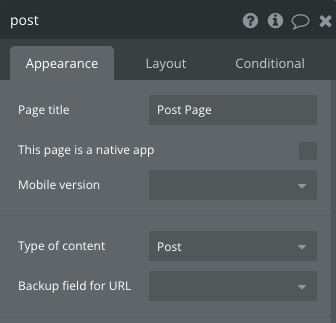
Let's create a new page called “post.”
As we’ll be displaying posts on this page, we need to set the type of content of the page to Post.
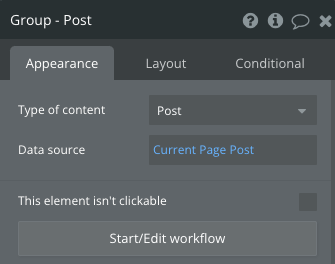
In order to display the relevant content for each post, we’re going to create a group and put three text elements in it.
Let’s set the type of content of the group to “Post” and set the data source as “Current Page Post.”
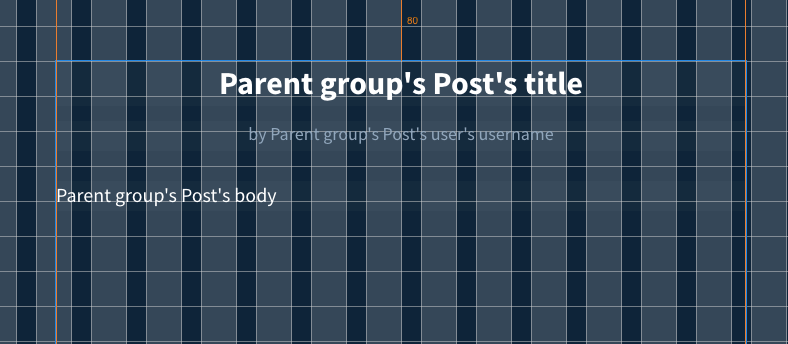
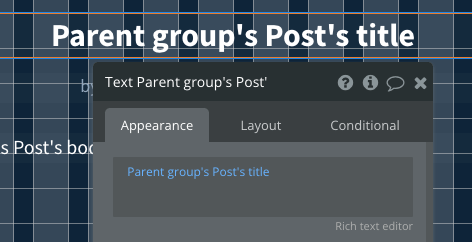
The first text element we create will show the post’s title.
The second text element shows the username of the user who created that post.

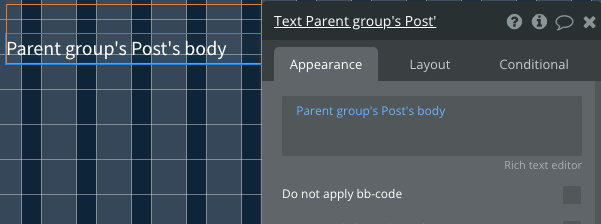
The third text element shows the main content (i.e. the “body”) of the post.
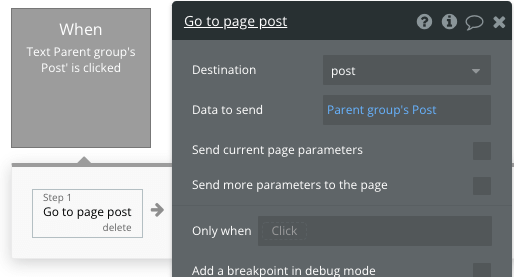
Now let’s go back to the homepage and add the necessary functionality by creating a workflow that redirects a user to the “post” page when a post’s title is clicked on the homepage.
We’re going to navigate to the “post” page and send the parent group’s Post data.
When you navigate to a “post” page within your Indie Hackers clone, you should see something like this:
Creating Groups
A key feature of Indie Hackers (and many other online communities) is the ability to create and participate in groups dedicated to a specific topic.
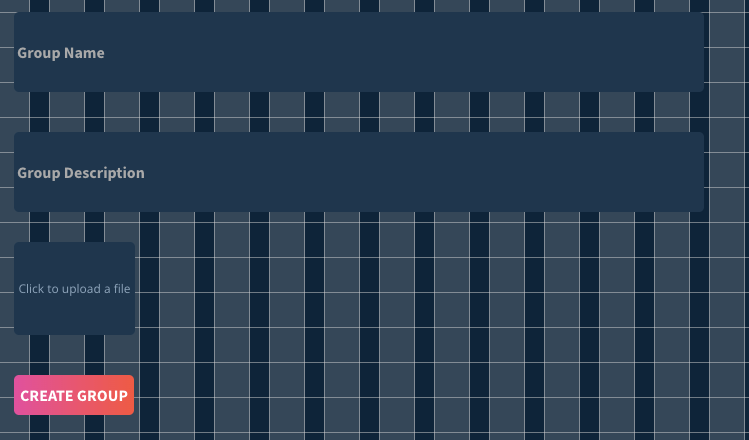
Let’s build a “create group” page that allows users to launch their own groups. We’ll keep it simple and create three input elements that permit users to:
- Name their group
- Give the group a brief description
- Upload an image for their group
In total, we’ll drop two input elements, a file uploader and a button, onto the page.
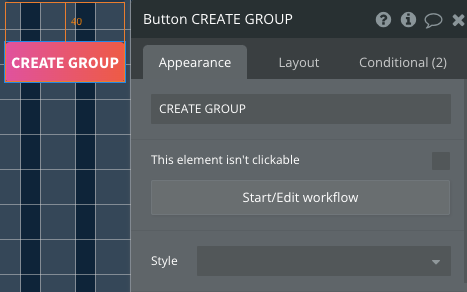
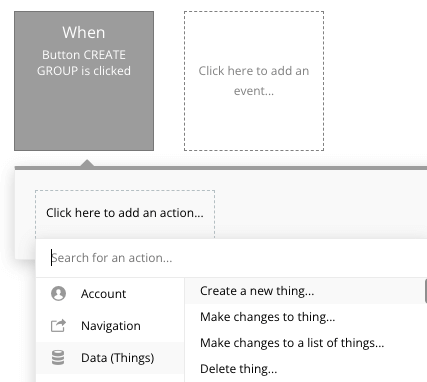
When a user clicks the “create group” button, we need to trigger a workflow that creates a new group in our database.
Within this workflow we’ll be creating a new community group: a new thing.
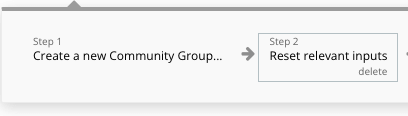
We’ll then need to start adding the relevant fields within our database. Map each of the on-page input elements with its corresponding database field.
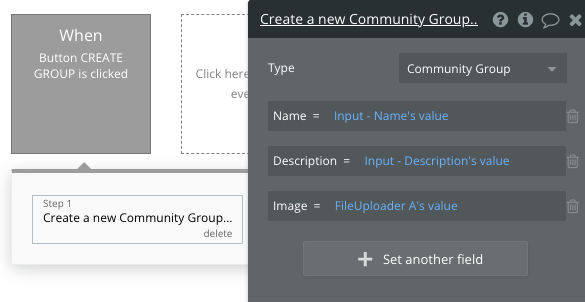
We’ll also need to “Reset relevant inputs” in order to clear the values the user has put into the various input/file uploader elements.
Groups Page
Now that we have the ability to create groups, we need to build a page where users can browse through all the groups available.
We’re going to create a new page called “groups” and drop a repeating group on the page. Then set the type of content to “Community Group” and set the “Sort by” to “Created Date” (much like we did with the Indie Hackers clone homepage).

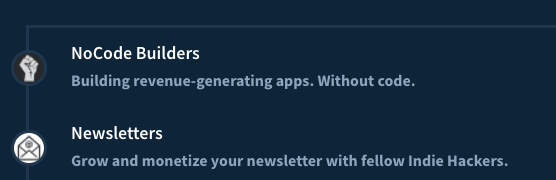
The “groups” page is going to have quite a similar layout to our homepage. We’ll use two text elements and an image element to display information about each group in the repeating group.
The end result should look something like this:
Showing Relevant Posts on each Community Group Page
Whenever users click on a specific community group link, we want to show them posts relevant to that community. We’ll again make use of Bubble’s ability to dynamically show data and create a single “community-group” page to achieve this.
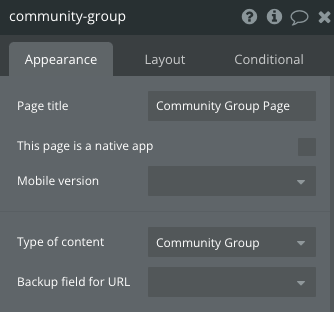
Start off by setting the type of content of the new page to “Community Group.”
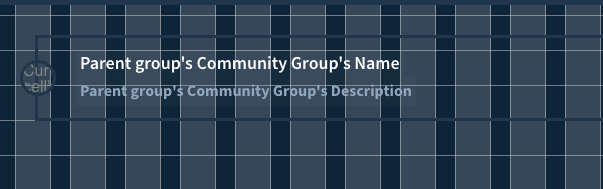
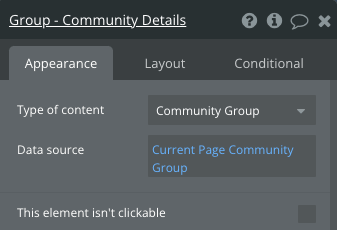
Now let’s give some basic information at the top of the page to make it clear to the user what community group page they’re on. We’ll create a group element and drop an image and two text elements into it for this.
It’s important to set the type of the group element to “Community Group” and also set its data source to “Current Page Community Group.”
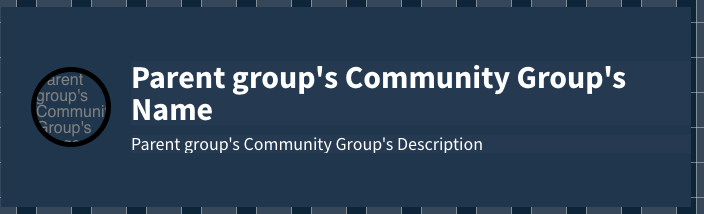
The text elements and image element will use the parent group’s community group to display the relevant information.
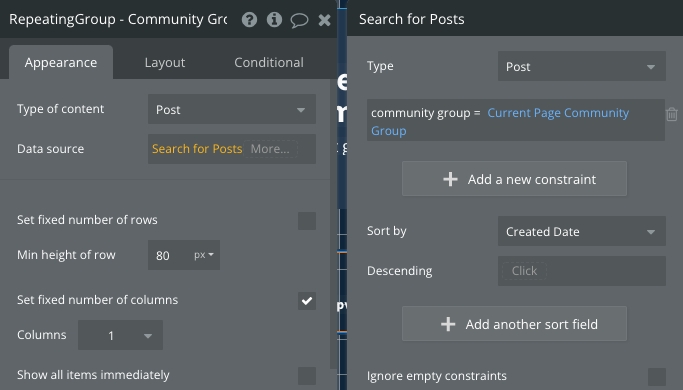
Next, drop a repeating group onto the page and set its type of content to “posts.”

We’re only going to display posts in this repeating group if their “Community Group” is equal to the current page’s Community Group.
Next, let’s drop some text elements, an icon and an image into the repeating group to show relevant information for each post. We’re basically trying to copy the same format that we had on the homepage.
Finally, let's add a workflow action that allows users to upvote posts, much like we did on the homepage.
Within the workflow editor, you’ll start by making changes to a thing.
We’ll need to make changes to the parent group’s Post. We’re going to add the current user to the upvotes list on the current post.
The text element will show the count of the number of users who have upvoted a particular post.

Additional Features
Once you’re comfortable with the basic features outlined above, you can start experimenting with additional features search as:
- Comment sections for posts
- A product directory where users can add products
- Messaging function to allow users to connect privately
- Jobs section where companies can post roles they’re hiring for
Further Resources
If you’re interested in building an Indie Hackers clone, you might find it useful to read other “How to Build” tutorials that cover similar ground, like:
Privacy & Security
Now that you’ve set up the basics of your app, don't forget to start setting some privacy rules and conditions to keep your data secure—starting with roles in the “Privacy” section of your data tab. You can also check if you're unintentionally exposing any data with an API checker.
Launch
Hiring a developer or dev team to build this app would cost thousands, if not tens of thousands, of dollars. As you launch and grow in users, paid plans allow you to host the app on your own custom domain, and these start as low as $25 per month. Some templates and plugins may cost more, but you can build all the functionality of Indie Hackers without any additional costs.
Start building
Bubble can help you build an Indie Hackers clone or any other product you choose! It’s never been easier to build something incredible without having to code.
Ready to join the no-code movement? Register your free Bubble account and get started today.
If you’d like additional help when building your product, our thriving community forum is a great place to source actionable advice and resources. Any maker is encouraged to ask questions within the community to help empower their no-code journey.
Build for as long as you want on the Free plan. Only upgrade when you're ready to launch.
Join Bubble