TL;DR: You can build a custom fitness app without coding using Bubble AI. Prompt it to generate your app's core features (user profiles, workout tracking, progress dashboards). Then visually edit the data, logic, and design directly in the editor. Finally, deploy to web or mobile app stores. The process: Clarify your app's unique value, identify essential features, use AI to generate the foundation, and refine the data structure, workflows, and user interface until you’re ready to launch.
With so many fitness apps already on the market, why build your own? The answer is control. Building a custom app lets you create an experience that perfectly matches your expertise and your clients’ needs.
Whether you’re a personal trainer looking to scale your business or a fitness entrepreneur with a fresh concept, you’ll learn how Bubble lets you vibe code without the code to go from idea to functional app.
Why build a custom fitness app
A custom fitness app puts you in the driver’s seat. You decide what features to include, how they work, and how your brand shows up. For instance, you can:
- Go beyond simple subscriptions. Offer tiered plans, one-on-one coaching sessions, or sell digital products directly in your app.
- Foster direct relationships with your users through features like direct messaging, group challenges, and social feeds that you control.
- Differentiate yourself by building the exact tools your audience needs, whether it's a specialized workout logger, a niche nutrition tracker, or integration with specific wellness devices.
A custom app transforms your fitness business from a service into a scalable digital product. With Bubble AI, you can generate a working app in minutes, then edit directly when you want precise control. Everything is visual and immediately editable, so you can launch a real app, not just a prototype.
Who should build a fitness app?
A custom fitness app makes sense if you’re looking to scale your expertise, reach more clients, or create a digital product around your fitness knowledge.
- Personal trainers and coaches. Deliver custom workout plans, track client progress, and offer premium content to a global audience beyond one-on-one sessions.
- Gym and studio owners. Enhance your member experience with class schedules, booking systems, and at-home workout options. A custom app keeps your community engaged outside the gym walls.
- Nutritionists and wellness coaches. Provide clients with meal plans, progress tracking, and direct communication tools. An app makes it easier to monitor client progress and success.
- Fitness influencers and content creators. Monetize your following by creating a central hub for your content, training programs, and community.
Common fitness app features to consider
While every fitness app is unique, a few core features are essential for a great user experience. Think about these as your foundation. You’ll build on them as your app grows.
Core user features
- Allow users to sign up, set their fitness goals, and input personal details like age, weight, and activity level.
- A simple way for users to track their exercises, including sets, reps, weight, and duration.
- A visual summary of a user’s progress, showing workout history, achievements, and stats over time.
- A place to host your exercise videos, workout plans, and nutritional guides.
Community and engagement features
- Let users connect with each other, share their progress, and offer encouragement.
- Remind users about workouts, celebrate milestones, or share new content to keep them coming back.
- Award badges or points for completing workouts or hitting goals to boost motivation.
Clarifying your fitness app idea
It’s tempting to jump right into building, and Bubble AI makes it easy to generate a working app in minutes. But getting clarity on your app idea and what needs to be built first helps you take full advantage of AI generation and customize the results.
Start by thinking through the common core features outlined above. Which of these are essential for your app? Which can you skip or add later?
For example, is your fitness app primarily for tracking workouts, losing weight, or sharing workouts with friends? Diet and nutrition apps require different core functionality compared to workout apps or activity tracking apps.
There are three essential things to clarify before you start building:
- What distinguishes your idea from existing fitness apps?
- What are your central features and capabilities, and how will people use them?
- Where will your app be available?
What distinguishes your idea from existing fitness apps?
There are plenty of workout apps out there. What makes yours different? What sets it apart from the rest?
That's not a rhetorical question. Knowing your app's key differentiators not only makes it easier to find your audience and build your app—it also helps you focus on what matters most.
And this isn’t always app functionality, either. It could be things like:
- Your expertise. Maybe your app has a ton of meal plans or exercise videos from a founder who’s a leading voice in fitness online.
- Your audience. Maybe your app is specifically designed for a certain group overlooked by current solutions. Their unique needs drive the core functionality and new features of your fitness app.
- Solving an existing pain point. Maybe your app will solve a problem current solutions don’t solve, or address a common frustration users have with them. That’s your core functionality to feature.
What are your central features/capabilities, and how will people use them?
Start by identifying the features your app absolutely needs to work. Think of this as your must-have list: the core functionality users expect from a fitness app.
You can always add more features later based on real user feedback. For now, focus on the essentials. Most fitness apps include things like:
- The ability to log in and set up a personal profile
- The ability to add or log workouts (via a form, or even access to native device tools like step counters or GPS)
- A dashboard to view previous workouts
- The ability to track different types of workouts or activity
- Integration with fitness devices and platforms, such as Garmin through their Activity API or Apple Watch through HealthKit. (Note that these integrations require API access and proper developer program enrollment.)
But lots of other functionality might be mission-critical for your app, depending on your key differentiators. For example, your app might need:
- A social-style feed to view others’ workouts and like or comment on them
- Milestones and achievements to motivate users to work out
- A library of workouts, training plans, or fitness content
- Ability to add friends or share workouts with others
- A weight-loss tracker
- Nutrition or diet tracking, such as a calendar and forms where users can add meals, count calories, or make menu plans
Another bonus: Making a shortlist of key functionality you need before you start building helps you evaluate tools to build on. That way, you won’t get stuck building on a tool that can’t do what you need. (Since Bubble’s visual editor lets you fine-tune any detail, you're never stuck, even if AI doesn’t nail something on the first try.)
Where will your fitness app be available?
Are you building a fitness app for web or mobile? If it’s a mobile fitness app, are you building it for iOS or Android? Or do you want to be available on more than one platform, or everywhere?
These choices fundamentally dictate how you’ll build your app. Obviously, if you’re going the traditional development route, you need to hire a team that can build in the appropriate programming languages for web or mobile.
If you’re building it yourself, though, this is still an important consideration. Not every tool can build cross-platform mobile apps, and many of the ones that can don’t build native mobile apps.
Many platforms build a web app and “wrap” it in a mobile-specific container. This usually means you won’t have access to full mobile functionality and design, leading to a worse mobile experience for users.
How to make a fitness app: Step-by-step walk-through
We’ll walk you through the basics of fitness app development using Bubble, which is one of the easiest and most versatile ways to build. But you can follow these same general principles no matter what tools you use.
Rather watch a real-time walk-through? We’ve got you covered here:
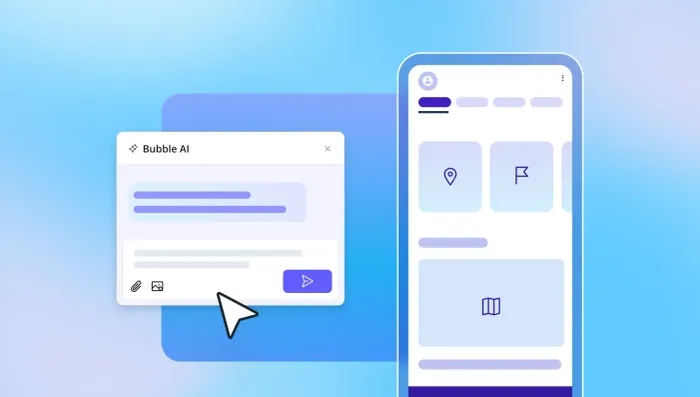
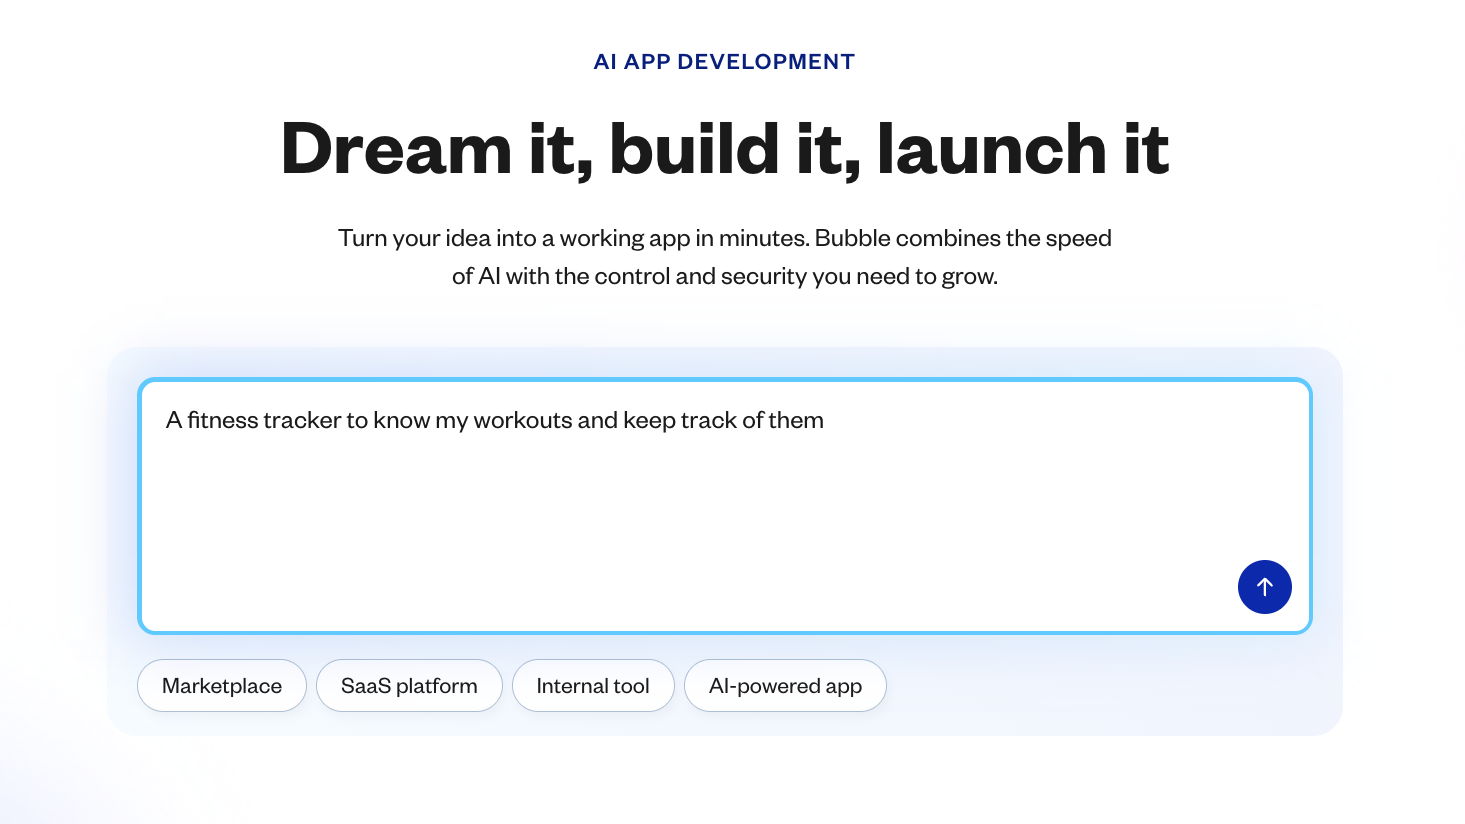
Step 1: Prompt Bubble AI
If you’re starting with a web app, you can massively speed up and simplify the process of creating your fitness app by starting with Bubble AI. Write a prompt with your idea and features. Even a simple prompt is enough to get started: The AI Agent (beta) helps you learn and iterate as you build.
From there, you’ll see the key features of your app set to be built.
Much like in the traditional development process, this is the time to make adjustments if anything seems off (use the chatbox in the left-hand sidebar to do so). Are any key features missing? It’s easier and more effective to dial in the core functionality first, then iterate and build out more complexity after.
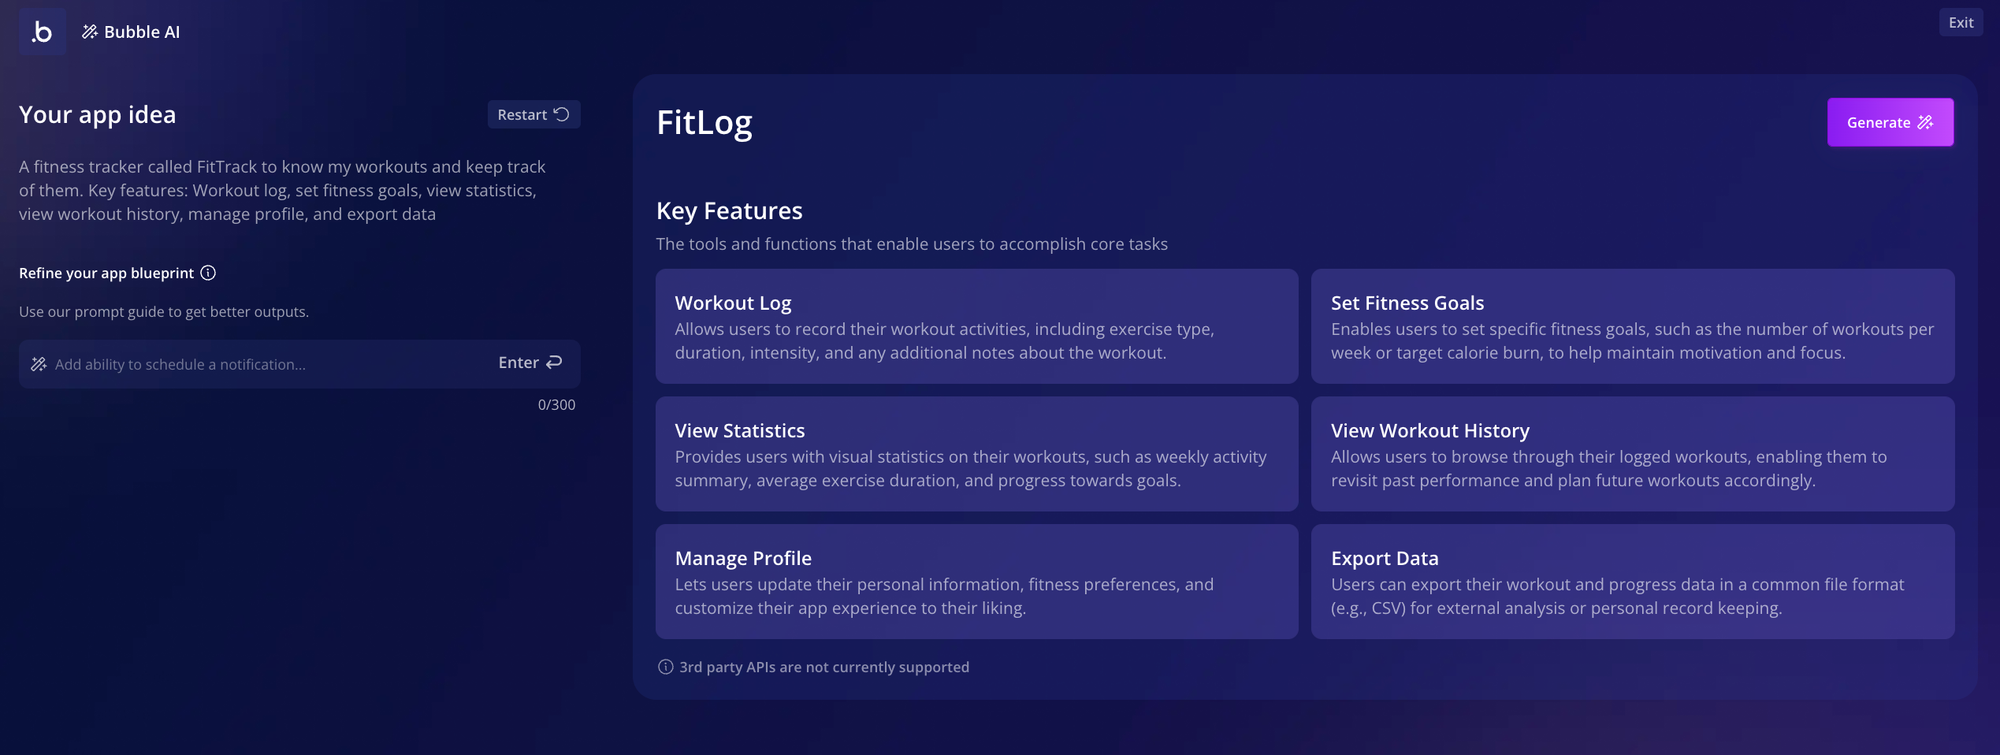
When everything looks good, just click Generate.
Step 2: Preview your fitness app
Bubble AI takes about 5–7 minutes to generate your app. When it’s finished, it’ll bring you directly to your app preview in the Bubble editor.
Bubble AI generates all the basics for your app: design, data, and logic.

Of course, no two app generations are the same. Your app will look different, even if you use the same prompt. As Bubble AI improves, the design, features, and functionality it creates will get better. If the first output isn’t quite right, you can use Bubble’s AI Agent to adjust specific parts or edit directly in the visual editor.
But keep in mind this is just a starting place. As with any AI tool, the details may not be exactly what you had in mind. But on Bubble, unlike with other AI tools, you have full control to change any aspect of your app to bring it in line with your idea.
Once you’re in the preview, take a complete walk-through of your app, looking at each page and noting the following:
- Are any pages missing or unnecessary?
- Does each page have the appropriate features and data displayed? (i.e., does the “Dashboard” page show the workout history and stats you want it to?)
- Are any features or functionality missing?
- Does the UI look the way you want it to? What do you want to change or adjust?
- Do all buttons, forms, input fields, and other UI actually work? If not, what functionality is missing?
Step 3: Get data and logic working
Now, it’s time to get your hands dirty. Back in the Bubble editor, you can edit the data and logic in an intuitive, visual way to make the changes you decided on in Step 2.
Data types are stored in your app’s database. Basically, any information your app stores, from users to workout details to goals and more, will be stored in a database in the backend of your app.
Bubble’s AI will generate some basic data types for you, based on your app’s features. For our example, it generated users, goals, workouts, and workout types.

But you’ll probably need to add some more data types to make your app really shine. For example, in our fitness app, we noticed that clicking the “Workout Type” button in the UI didn’t give us any workout type options, even though the dropdown is set up correctly. This means we have incomplete data!

Fixing something like this, or adding more data to your app, is easy. The simplest way is to add data types with AI. You can ask the Bubble AI Agent, or, from the data tab in the editor, click Generate Data Types by the Bubble AI button. Then describe the feature you’re building and the AI Agent will generate fitting data types and fields.

Once your data type has been created (in this case, “Workout Type”), you can go to the app data tab to add sample data for it.
These will create options for the dropdown menu. Click New entry, then add the dropdown option to the Name field and click Create.

Repeat this process for all the entries you want to add, and you’ll start seeing them show up in your database.

When we go back to our app, we’ll see these choices reflected in the dropdown menu. Voila! It’s that easy to pull data from the backend of your app to be displayed to the user.

Logic involves the backend workflows that power the functionality of your app. Typically, on Bubble, logic is built with when/then statements. For example:
- When the “Log workout” button is clicked, then add a new workout to the database.
- When the “Create goal” button is clicked, open the popup with the new goal form.
- When the user logs in, take them to their dashboard.
Bubble AI generated 16 workflows for us right away, mostly related to buttons. Almost everything worked from the start, which is a huge lift. Adding more functionality is easy, too.
For example, we noticed there wasn’t an option to remove a goal from our goals list. Let’s add a trash icon button. First, drag and drop a new icon into the element.
Make sure to edit the button’s internal name (click on the name at the top of the property editor). You can also use the property editor to adjust how the icon looks.

With the button created, you can now add the logic that will make it work. Click Add workflow in the property editor.
This will bring you to Bubble’s workflow editor. This is where we tell the app what to do when that button is clicked. The “trigger” is already set up (when the button is clicked). Just click to add a step, then select Data (Things) > Delete a thing > Parent group’s goal.
This tells your app: If [this icon is clicked], then [delete the goal they’ve clicked on from the database].

When you go back to your goals list in preview mode, you can test it out and see it in action.
That’s really all it takes. You can add new elements, data, and workflows to your Bubble app following these same basic steps and principles.
- Read up on logic and workflows in the Bubble manual.
- Dive into the Bubble Basics for AI Builders course with Gregory John.
- Use Bubble plugins or the API connector to easily add advanced functionality like AI or payments, or connect your app to other software.
- Get stuck while building? Ask the Agent in your editor or head over to the Bubble Forum to pose your question to our active community.
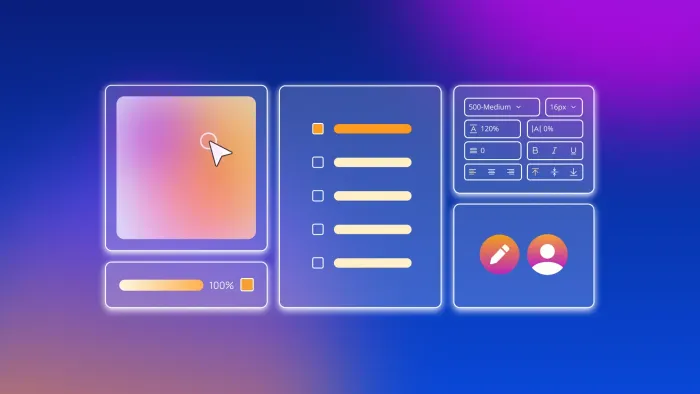
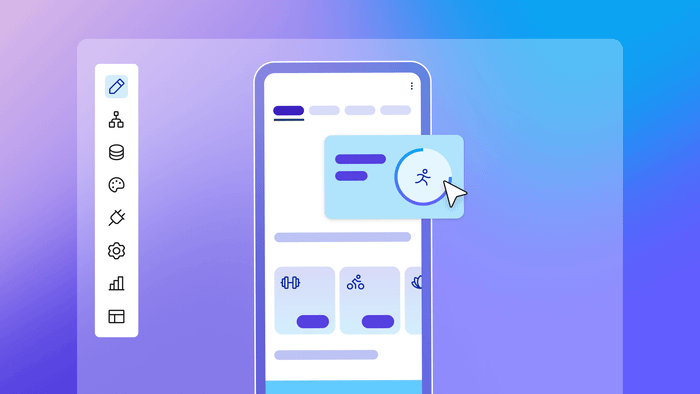
Step 4: Refine your app UI
When you’ve adjusted the functionality and features, it’s time to refine the user interface (UI).
Unlike many AI coding tools, you get pixel-perfect design control. Make changes directly, with no prompting and hoping the AI understands.
You can make quick changes directly from the Design tab by clicking on any element to edit it directly.

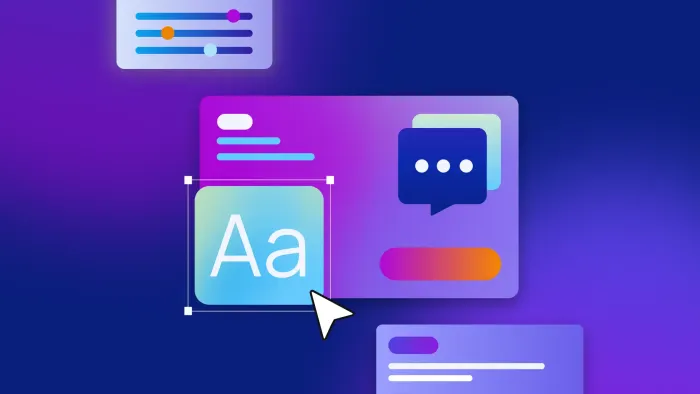
Next, let’s add some images to make the homepage of our app a bit more visually appealing. To do so, start by dragging and dropping a group from the sidebar onto your app page. Then, drag and drop three image blocks from the sidebar into that group.
Under the Appearance tab, click to upload your images.
Next, we want these images to show up in a row, so go to Layout and change the Parent container type to Row. From here, you can also adjust the alignment (want them to be centered? left-aligned?), spacing, and more.

For large-scale design changes, use the Styles tab. This is where you can set up big-picture design systems for your app, like default fonts and colors. For example, we used styles to change our app to dark mode by setting default backgrounds to a dark color scheme, while adjusting default fonts, button colors, and outlines to lighter colors.

With just a few clicks, your app’s look and feel is changing completely, with no programming language or back-and-forth with AI prompts required.

Step 5: Test, iterate, and launch
Here’s what to do next:
Test it out. There are a few ways to test directly from the Bubble editor:
- Use preview mode. This allows you to see, use, and click through your app as a user would. It’s a great way for testing buttons, workflows, and functionality, as well as design and UI.
- Use the debugger. From preview mode, the debugger helps you analyze workflows and logic, which is helpful for troubleshooting when you encounter unexpected behavior. You’ll see actions outlined step-by-step to help you identify broken links or missing pieces in workflows.
- Look at the issue checker. In the upper right tool bar on the Bubble editor, you’ll see the issue checker. It automatically scans your app for inconsistencies or errors, giving you a quick checklist to resolve before you launch.
- If you're building for mobile, use BubbleGo. The BubbleGo app lets you preview and use your mobile app on real mobile devices, before you launch. This is a great way to run internal or user testing and see how real users will use your app.
Iterate. When you find errors or places to improve, the Agent can help you troubleshoot. Describe the problem and what you’d like to do, and it will analyze your app’s structure to either make changes directly or provide step-by-step guidance.
Launch. Your app doesn’t need to be perfect to launch, but Bubble apps are production-ready from the start. Sharing your app with a real audience will give you valuable feedback to help you refine and grow.
On Bubble, launching is easy. Just click Deploy and Bubble takes care of pushing your app live. You can also launch mobile apps directly to the Apple App Store and Google Play Store from the Bubble editor, too. The app store processes for approval and deployment are a bit more complex, but Bubble will help you package and submit your app for approval.
When you launch, you might also start considering a monetization strategy for your app. Gamification elements, in-app ads, sponsored content, or other paid health and fitness content could all be potential options for monetizing your app post-launch.
Resources for building your fitness app
Whether you’re a true beginner or an experienced programmer, we have resources to help you build faster:
- Watch our entire Bubble Basics for AI Builders, or dive into our YouTube channel to find video tutorials for anything on Bubble.
- Curious about building for web and mobile? Learn how to convert your web app to a mobile app, or get our guide on cross-platform development.
- Learn the basics of native mobile development with our deep-dive video course.
- Need answers on a particular element of the Bubble editor? Find answers for everything in the Bubble Manual.
- Want support as you build? The Bubble AI Agent is available right in the editor to answer questions and help you troubleshoot. You can also ask for help from thousands of experienced devs and Bubble builders in the Bubble forum, or hire a Bubble agency to help you build your app.
Build your own fitness app on Bubble AI
Bubble gives you a fully visual AI app builder where you can chat with AI when you want speed, or edit directly when you want precise control — all in one editor for both web and native mobile apps. Generate a custom fitness app in minutes with AI, refine it exactly as you imagine with the visual editor, and get help from the AI Agent whenever you need it.
Best of all? Bubble is free to build on until you’re ready to launch. Get started for free today and bring your own fitness app to life →
Frequently asked questions about building fitness apps
Can I really build my own fitness app without any coding experience?
Yes. Bubble lets you vibe code without the code. Chat with AI when you want speed, and edit directly when you want control. You can see exactly how your app works through visual workflows instead of thousands of lines of code, and the Bubble AI Agent teaches you as you build.
How much does it cost to build a fitness app with AI compared to hiring developers?
Hiring developers typically cost $50–$150/hour depending on expertise and location, with total project costs varying based on features and complexity. Building on Bubble starts free and moves to affordable subscription plans, priced at a tiny fraction of traditional development costs.
How long does it take to build and launch a fitness app?
Traditional development can take 6 to 12 months or more. With Bubble, you can generate a working app in minutes and deploy it to the app stores in just a few weeks, allowing you to get user feedback and iterate much faster than traditional development cycles allow.
Can I build for both iPhone and Android at the same time?
Yes. Bubble is the only platform that lets you build for the web, native iOS, and native Android all from a single editor with a shared backend. This means you build your features and database once, and they work across all platforms. You time and eliminate the need to maintain separate codebases.
Build for as long as you want on the Free plan. Only upgrade when you're ready to launch.
Join Bubble