You have an idea for a new piece of software, and you want to bring it to life. Great! But how exactly do you go about that? No-code development has made it possible for anyone to create software, but figuring out where to start can still feel daunting. That’s where the software development lifecycle (SDLC) comes into play.
The SDLC framework maps out the process for taking your app, website, or other piece of software from concept to reality. It’s been a mainstay of traditional software development for decades, and the core principles apply equally well to no-code development.
In this article, we’ll walk you through the seven steps of the software development lifecycle, covering how each one has operated under traditional software development and explaining how no-code impacts the process.
Once you understand the SDLC, you’ll have the framework you need to start tackling your own project!
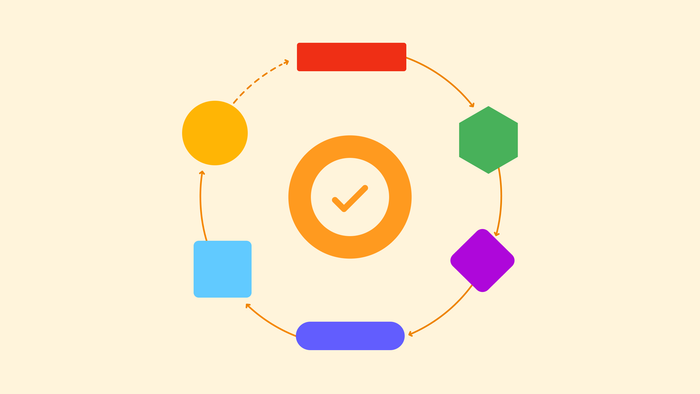
The 7 steps of the software development lifecycle (SDLC)
Although the SDLC is a widely accepted concept in software development, the precise steps vary a little from one team or organization to the next, with most landing on six or seven of them. While the names of the steps may differ, and some orgs collapse certain steps together, the basic principles typically remain the same.
For our purposes, we’ll cover the following seven steps for the SDLC:
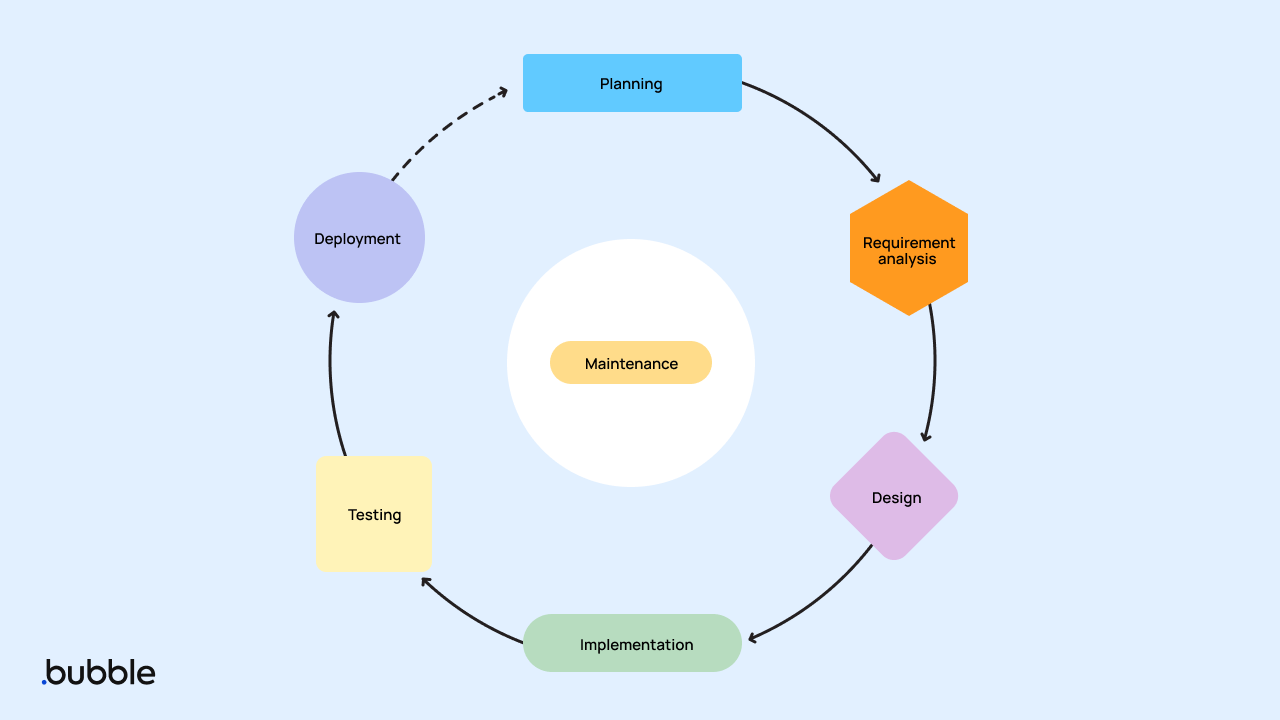
1. Planning
During the planning stage, you chart out the intentions for your piece of software. Planning can be fairly simple or incredibly detailed, depending on how comprehensive your vision for the software is. At a minimum, it should answer the questions:
- Who is the software for?
- What is the software’s purpose?
- How will the software achieve its purpose?
- What are the business goals for the software?
For traditional software, this stage of the software development lifecycle would frequently include planning key design elements and an overview of the user interface. For no-code development — and especially for AI-empowered no-code platforms like Bubble — you may optionally plan these design elements at this stage if you have a clear vision of what you want the software to look like. But you’re also free to skip this part, as the no-code development platform can handle the design planning for you. (We’ll come back to this at the design stage.)
2. Requirement analysis
Requirement analysis takes the basic plan from the previous stage and fleshes it out, ensuring that you have all the resources in place to complete, deploy, and maintain the software. You’ll put together a product roadmap that lays out in detail how you’ll make your software a reality.
This stage frequently involves a lot of research. You need to determine what resources you’ll need to execute your vision, including:
- What team members are required, including developers, designers, project managers, and IT
- How tasks will be distributed among those team members
- What stakeholders will be involved
- What timeline the project will follow
- Which programming languages you’ll work with
- What platforms you’ll build on
- What libraries and plugins you’ll use
- What hardware you’ll need
- What security measures you’ll have in place
- What funds will be needed to bring the project to fruition
- What sources will provide that funding
- How the software will be monetized to make a profit
- What risks you’ll face
For traditional software development, this can become fairly complicated, as it has to factor in all of these elements independently. But no-code development makes requirement analysis significantly easier.
This is due in part to the fact that a single no-code developer can perform all the other roles typically needed in traditional software development. Depending on the scope of your project, you may still want to bring other people in for collaboration (which a good no-code platform should enable), but you can do it all yourself if you’re so inclined.
“The traditional designer, developer, and project manager triad is collapsing into a single role, with teams consisting of people who shine on different elements of those skill sets but can work across all three.” — Josh Haas, Bubble Co-CEO and Founder
Even more importantly, a full-stack no-code development platform like Bubble brings together everything you’ll need into a single package. We take care of all the hardware and hosting, ensuring your software runs on a reliable platform that scales as large as you need it to. And we provide enterprise-grade security with built-in user authentication, customizable privacy rules, services like AWS and Cloudflare, and compliance with SOC 2 Type II and GDPR.
All the grunt work of analyzing and selecting the myriad technical factors that come into play are taken care of for you and provided in a single convenient package.
So depending on whether you’re involving other team members in your project, your costs could be as straightforward as the subscription to the no-code platform itself. Bubble is free to get started and offers competitive pricing plans once you’re up and running.
3. Design
The design stage is where you’ll determine what the software looks like, but it isn’t just about picking a color scheme and making it look pretty. You need to craft a user interface that’s straightforward and intuitive to use. All text boxes, buttons, and other elements should be logically placed. Pages should flow coherently from one to the next. And your software needs to work equally well across all devices, browsers, screen resolutions, and orientations.
For traditional software development, this stage will typically be completed by a designer or a team of designers working with wireframes and mockups to plan out the user interface before handing it over to the devs for implementation. It frequently involves a good bit of back and forth between the project manager, designers, and developers to land on a design that satisfies everyone’s requirements and is viable for the final product.
But no-code development once again makes this process much simpler. Most no-code platforms provide a visual drag-and-drop editor that allows anyone to build the user interface by simply placing elements where they go. You can certainly bring in a professional designer if you’d like, but you can also do it yourself.
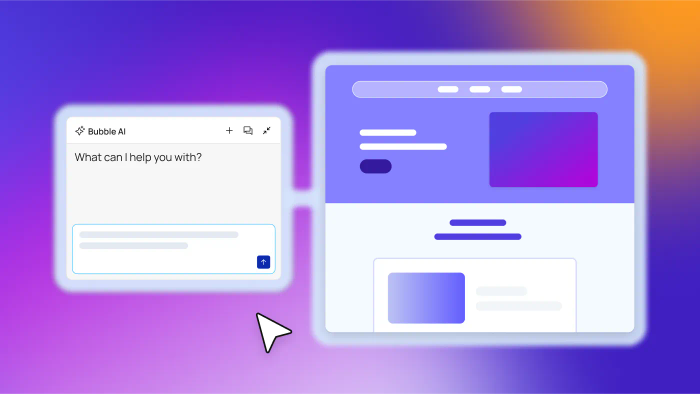
Bubble’s AI-powered design takes this a step further. In Bubble, you can simply describe what your design should look like, and Bubble will generate the user interface for you — fully populated with not only forms and buttons, but also text and images if so desired. And of course, the design will be fully responsive, meaning it scales and adapts to look great on any screen. From there you can make whatever individual changes you want to ensure it’s exactly what you need.
And whether you use the drag-and-drop editor, AI-powered design, or a combination of the two, the user interface you create in this stage will be more than just a mockup — it’ll be a functional frontend that’s ready to have workflows and logic applied in the next stage.
4. Implementation
The implementation stage is where everything comes together to create a functioning piece of software. This is where you actually build the software itself.
In traditional software development, the dev team would take the wireframe and mockups from design, build it out as a functional frontend, and manually code all the logic for the backend of the software using whatever programming languages were chosen to make it operate as desired. Meanwhile, IT would be setting up the physical hardware necessary to host the software and serve it to the web.
But with no-code development, the frontend created in the previous step is ready to go. Anyone can build out the software’s backend logic without coding, and the hardware is all managed by the no-code platform hosting the software.
For a no-code platform like Bubble, implementation is a matter of building a database, installing any needed plugins, and connecting them to the frontend via a series of logical statements known as workflows.
Building the database
Working with a database may sound daunting, but it’s really just a matter of storing information. Building a database on Bubble is a matter of working with data types and fields:
- Data types are the containers that store information.
- Fields are the individual pieces of information within a data type.
All Bubble applications come with a default data type for users, which contains fields like first name, last name, email address, username, and password. These are the pieces of data needed to create a user account and let users log in and out.
Data types vary depending on what kind of software you’re building. If you were creating an online storefront, for example, you would likely also create a data type for item listings, which would include fields like product name, product description, product images, and price.
Installing plugins
Plugins provide your software with additional functionality for minimal extra work, and/or they allow your software to integrate with external tools. Bubble hosts a marketplace of thousands of plugins, both official and user created, ranging from free to paid. Installing the right plugins can save you even more time during the implementation stage, as well as connecting you to services you couldn’t get access to any other way.
For example, plugins allow you to connect to AI models like ChatGPT for text or Dall-E for images, so you can incorporate live-response AI features into your software.
Creating workflows
Once all the building blocks are in place, you connect the frontend, database, and plugins via logical if-then statements known as workflows, made up of events and actions:
- Events trigger a workflow to run. For example, a user clicking a button could be an event.
- Actions are the processes that run in response to a trigger. For example, adding a record to the database could be the action that is taken after the user clicks that button.
For no-code development, implementation is a matter of connecting all the pieces together with logical workflows powered by events and actions so that everything a user can do on the frontend triggers the appropriate response on the backend.
Bubble’s AI-powered custom build guides make this even easier. You simply tell Bubble what kind of software you want to build, and it generates a personalized guide that walks you through every step of the process.
5. Testing
During the testing stage of the SDLC, the now-functional software is put through its paces in order to make sure everything’s working, identify bugs, and gain feedback in order to enhance user experience. This is typically divided into alpha testing and beta testing, with some organizations also doing gamma testing.
- Alpha testing is done in-house, often by a team of professional testers who are trained to seek out problems. They actively look for ways to “break” the software in order to identify any potential weaknesses.
- Beta testing is real-world testing conducted by a limited number of outside users to gauge how the intended target audience will react. Their feedback will be used to improve the software before release.
- Gamma testing is an optional step done between beta testing and release to ensure that everything is ready to be launched at scale. Many organizations see this step as unnecessary, being covered by the previous two.
For traditional software development, when testers find a bug, they report it into a bug tracking system. From there, the bugs will be assigned to developers to be fixed. No-code development may follow a similar pattern, but it has a few advantages.
You aren’t as reliant on developers to make the changes, since anyone can work with no-code. And with Bubble, you get an advanced version control system to keep track of which changes were made by which person, allowing you to easily incorporate or reverse changes at your discretion.
Additionally, Bubble’s issue tracker helps you identify and resolve many problems before you even reach the testing stage. And Bubble’s debugger helps you pinpoint and correct problems that may not have an otherwise obvious solution.
6. Deployment
Deployment is the most exciting stage of the SDLC process. After all the testing and debugging has ensured that no known issues remain, this is where you publish your software for the world to see and use.
For traditional software development, this stage of the software development lifecycle involves mirroring the software from the staging environment (internal for development and testing purposes) to the production environment (public-facing). It may also require additional servers or other hardware in addition to dev time.
For no-code development on a platform like Bubble, deployment is as simple as hitting the “Deploy to Live” button from the version control panel.
7. Maintenance
Importantly, the SDLC doesn’t end when you go live. No matter how thorough you may be, some bugs will inevitably slip through the cracks during testing, only to be discovered by the public. You’ll need to upgrade your hardware, software libraries, and security patches from time to time. And you may wish to add new features to your software as needed. The maintenance stage covers all of this.
Debugging will follow a similar process to the testing stage, whether for traditional or no-code development. But no-code platforms like Bubble will handle all the upgrades for you, so you don’t have to worry about that. And of course, you’re empowered to make your own changes and add new features whenever you like via the power of no-code.
Start building with Bubble
Software development has never been easier, thanks to Bubble’s AI-empowered no-code development platform. You’ll be able to move through each stage of the SDLC with ease, and bring your vision to life in no time with the industry-leading no-code solution.
Build for as long as you want on the Free plan. Only upgrade when you're ready to launch.
Join Bubble